12 Days of Halloween: Day 5 Pixy Stix Pouch

» 5 September, 2015 » 3-D Projects, Halloween » 0 comments

Cheer All Year Pixy Stix Pouch

This pouch is designed to fit pixy stix candy inside.  It features the Cheer All Year Stamp Set and Happy Haunting DSP.

I used the Stampin’ Trimmer to score the card stock to make the pouch.

Measurements: Basic Black 2″ x 11″ (Score at 6 1/2″ on the 11″ side of card stock), Happy Haunting DSP 1 3/4″ x 4 1/4″

Here is the video tutorial for this project.

Click Here to Order Stampin’ Up! Products

Supplies List: Click on products to shop online.

Built for Free Using: My Stampin Blog

12 Days of Halloween: Day 4 Hershey’s Candy Wrapper

» 4 September, 2015 » 3-D Projects, Halloween » 0 comments

Hershey's Candy Wrapper


I made this wrapper with the A Little Something Stamp Set and Happy Haunting DSP, which are both featured in the 2015 Holiday Catalog.

image

I used the Simply Scored to make the score lines one the card stock for the wrapper.

Measurements: Tangelo Twist 2 3/4″ x 10 1/4″ (Score at 5″ and 5 1/4″ on the 10 1/4″ side of the card stock. Then score at 1/4″ and 2 1/2″ on the 2 3/4″ side of the card stock.) DSP 2″ x 4 3/4″, Scrap piece of Tangelo Twist to punch label bracket

Here is the video tutorial for this project.

Click Here to Order Stampin’ Up! Products

Supplies List: Click on products to shop online.

Built for Free Using: My Stampin Blog

12 Days of Halloween: Day 2 Witches’ Night Envelope Pouch

» 2 September, 2015 » 3-D Projects, Halloween » 0 comments

Envelope treat pouch

I made this pouch using a Whisper White Medium Envelope.

image

I used the Witches’ Night Stamp Set from the Holiday Catalog, and I embellished the pouch with Into the Woods Ribbon and Happy Haunting Washi Tape.

Measurements: Old Olive 2 7/8″ x 4 3/8″, Whisper White 3″ x 4 1/2″, Scrap pieces of Rich Razzleberry and Whisper White, and approx. 12″ Into the Woods Ribbon

Here is the video tutorial for this project.

Click Here to Order Stampin’ Up! Products

Supplies List: Click on products to shop online.

Built for Free Using: My Stampin Blog

12 Days of Halloween: Day 1 Happy Haunting Pillow Box

» 1 September, 2015 » 3-D Projects, Big Shot, Halloween » 0 comments

Pillow Box Treat

I made this box using the new Square Pillow Thinlits Die with the Happy Hauntings Designer Series Paper.

I used the A Little Something Stamp Set from the Holiday Catalog which is now live as of today.

Measurements: 2 pieces of DSP 5″ x 6″, Basic Black 1/2″ x 4″, Tangerine Tango 2 1/2″ x 2 1/2″, Very Vanilla 1 3/4″ x 1 3/4″, Rich Razzleberry 1 5/8″ x 1 5/8″, and approx. 16″ Into the Woods ribbon

Here is the video tutorial for this project.

Click Here to Order Stampin’ Up! Products

Supplies List: Click on products to shop online.

Monday Montage Blog Hop

» 25 January, 2015 » 3-D Projects, Clean & Simple » 3 comments

monday montage

Welcome back for another edition of Monday Montage!

Life is an adventure

Today I’m sharing the gift I received from Elizabeth in the Monday Montage gift exchange. She created a notebook using My Digital Studio. Isn’t it cute! I just love this color combination.

Mds notebookThis is the back cover of the notebook.

Gift packaging

I also wanted to share the beautiful packaging the notebook came in. It’s so pretty! I opened it very carefully because I didn’t want to damage the wrapping. Lol!

Packaging closeup

Thanks for stopping by! Be sure to click back or next below to continue the hop.

montage montage backmonday montage blog hop next


Monday Montage Blog Hop

» 12 October, 2014 » 3-D Projects, Clean & Simple, Halloween » 3 comments

monday montage

Welcome back for another edition of Monday Montage!

Happy Haunting

Today I have a quick treat bag to share with you.  The Petite Cafe Gift Bags make creating treat bags quick and simple. I will definitely be making more using Christmas DSP for small gifts and treats.

Thanks for stopping by! Be sure to click back or next below to continue the hop.

montage montage backmonday montage blog hop next

Supplies:

Stamps: Ghoulish Greetings- Wood #136663, Clear #136664

Ink: Tangerine Tango #126946

Card Stock: Whisper White #100730

Accessories: Motley Monsters DSP #135819, Petite Cafe Gift Bags #135826

Monday Montage Blog Hop

» 28 September, 2014 » 3-D Projects, Clean & Simple, Halloween » 2 comments

monday montage

Welcome to the Monday Montage blog hop!

Ghoulish Greetings box

Today I have a treat box to share with you.  I made this box using a piece of card stock 6 1/2″ x 7″. Then score at 2″, 3″, 5″, and 6″ on the 6 1/2″ side. Next score at 2″ and 6″ on the 7″ side.

Trick or Treat Box

Thanks for stopping by! Be sure to click back or next below to continue the hop.

montage montage backmonday montage blog hop next

Supplies:

Stamps: Ghoulish Greetings- Wood #136663, Clear #136664

Ink: Basic Black #126980

Card Stock: Whisper White #100730, Tangerine Tango #111349

Accessories: Frosted Sequins #135835, Motley Monsters DSP #135819


Monday Montage Blog Hop

» 17 August, 2014 » 3-D Projects » 3 comments

monday montage

Welcome to the Monday Montage blog hop!


Monday Montage

This box was created using the new Gift Box Punch Board that will be available in the Holiday Catalog. It was super simple to create! For this box I cut my card stock to 8×8, and then scored and punched based on the chart given on the board.  Once the box was finished, I created a belly band using the Motley Monsters DSP. Then I added some two-toned twine and created a tag using the Note Tag Punch and the Ghoulish Greetings stamp set. Frankenstein is cut from one of the patterns in the Motley Monsters DSP.

Thanks for stopping by! Be sure to click back or next below to continue the hop.

montage montage backmonday montage blog hop next

Supplies:

Stamps: Ghoulish Greetings- Wood #136663, Clear #136664

Ink: Crushed Curry #131173

Card Stock: Whisper White #100730, Basic Black #121045

Accessories: Motley Monsters DSP #135819, White and Tangerine Tango Two-Tone Trim #135838, Note Tag Punch #135860, 1/8″ Circle Punch #134365, Gift Box Punch Board #135863


Monday Montage Blog Hop

» 20 October, 2013 » 3-D Projects, Big Shot, Halloween » 0 comments

monday montage

Welcome to the Monday Montage Blog Hop.

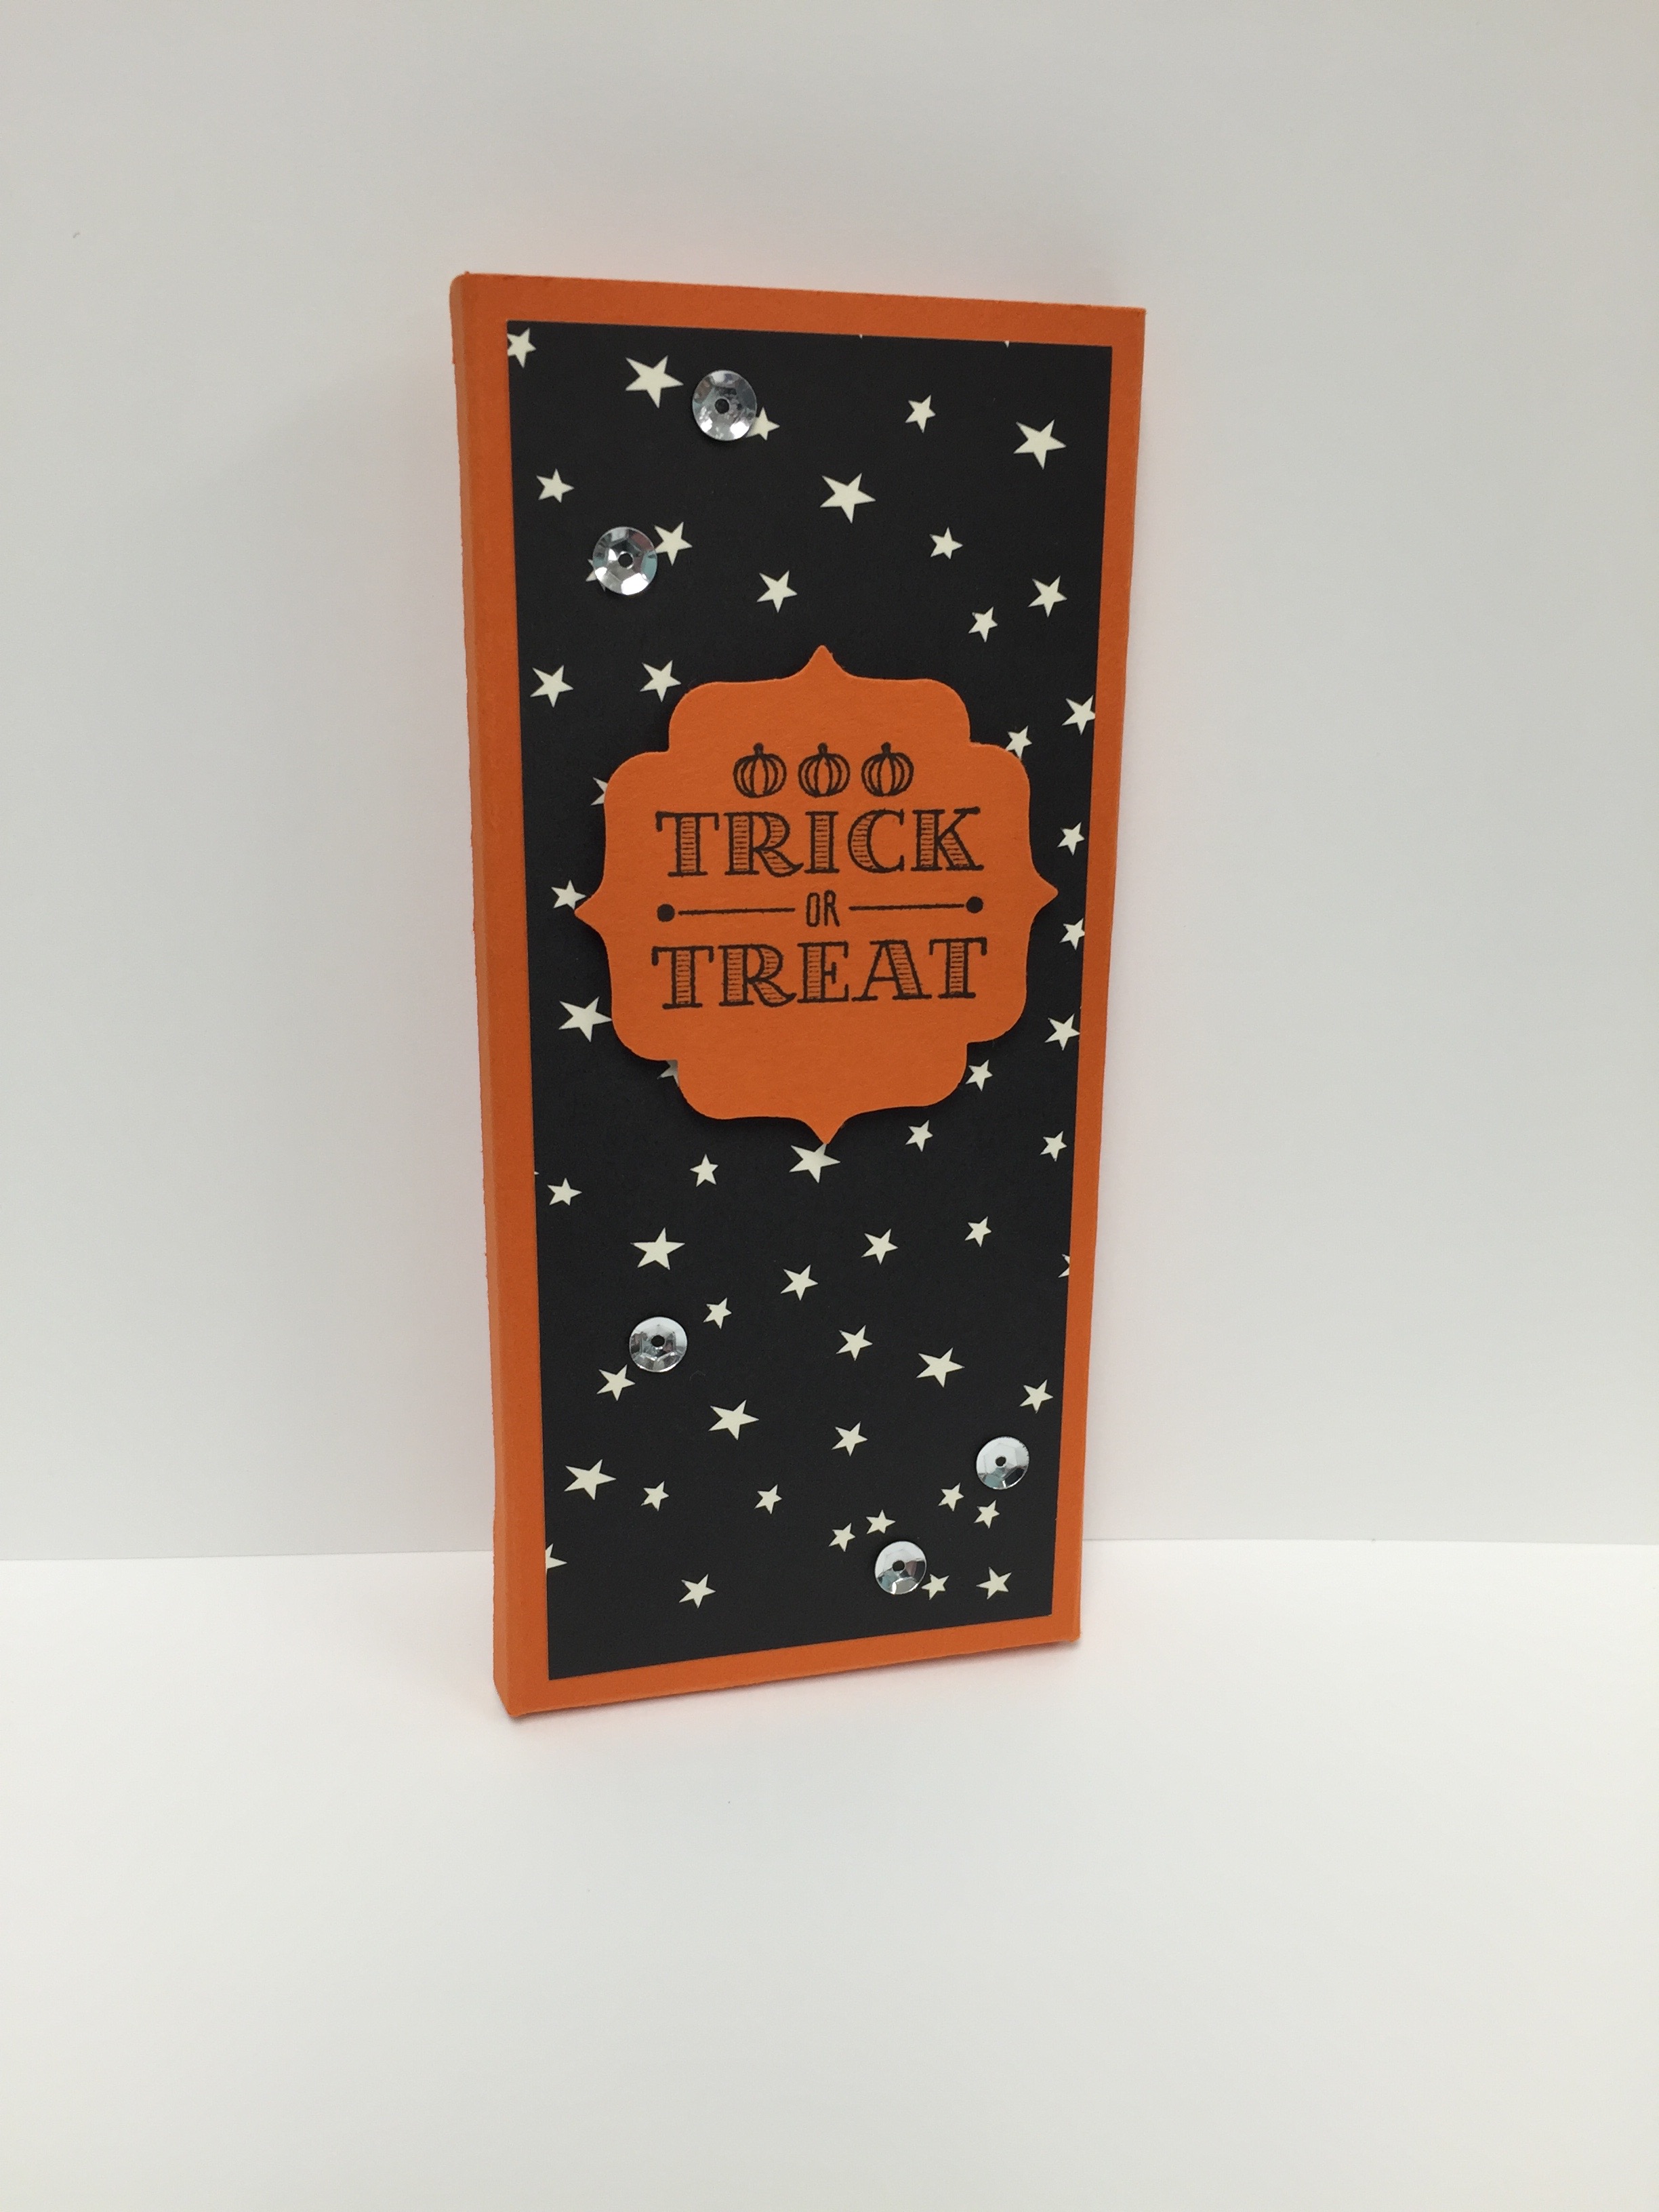
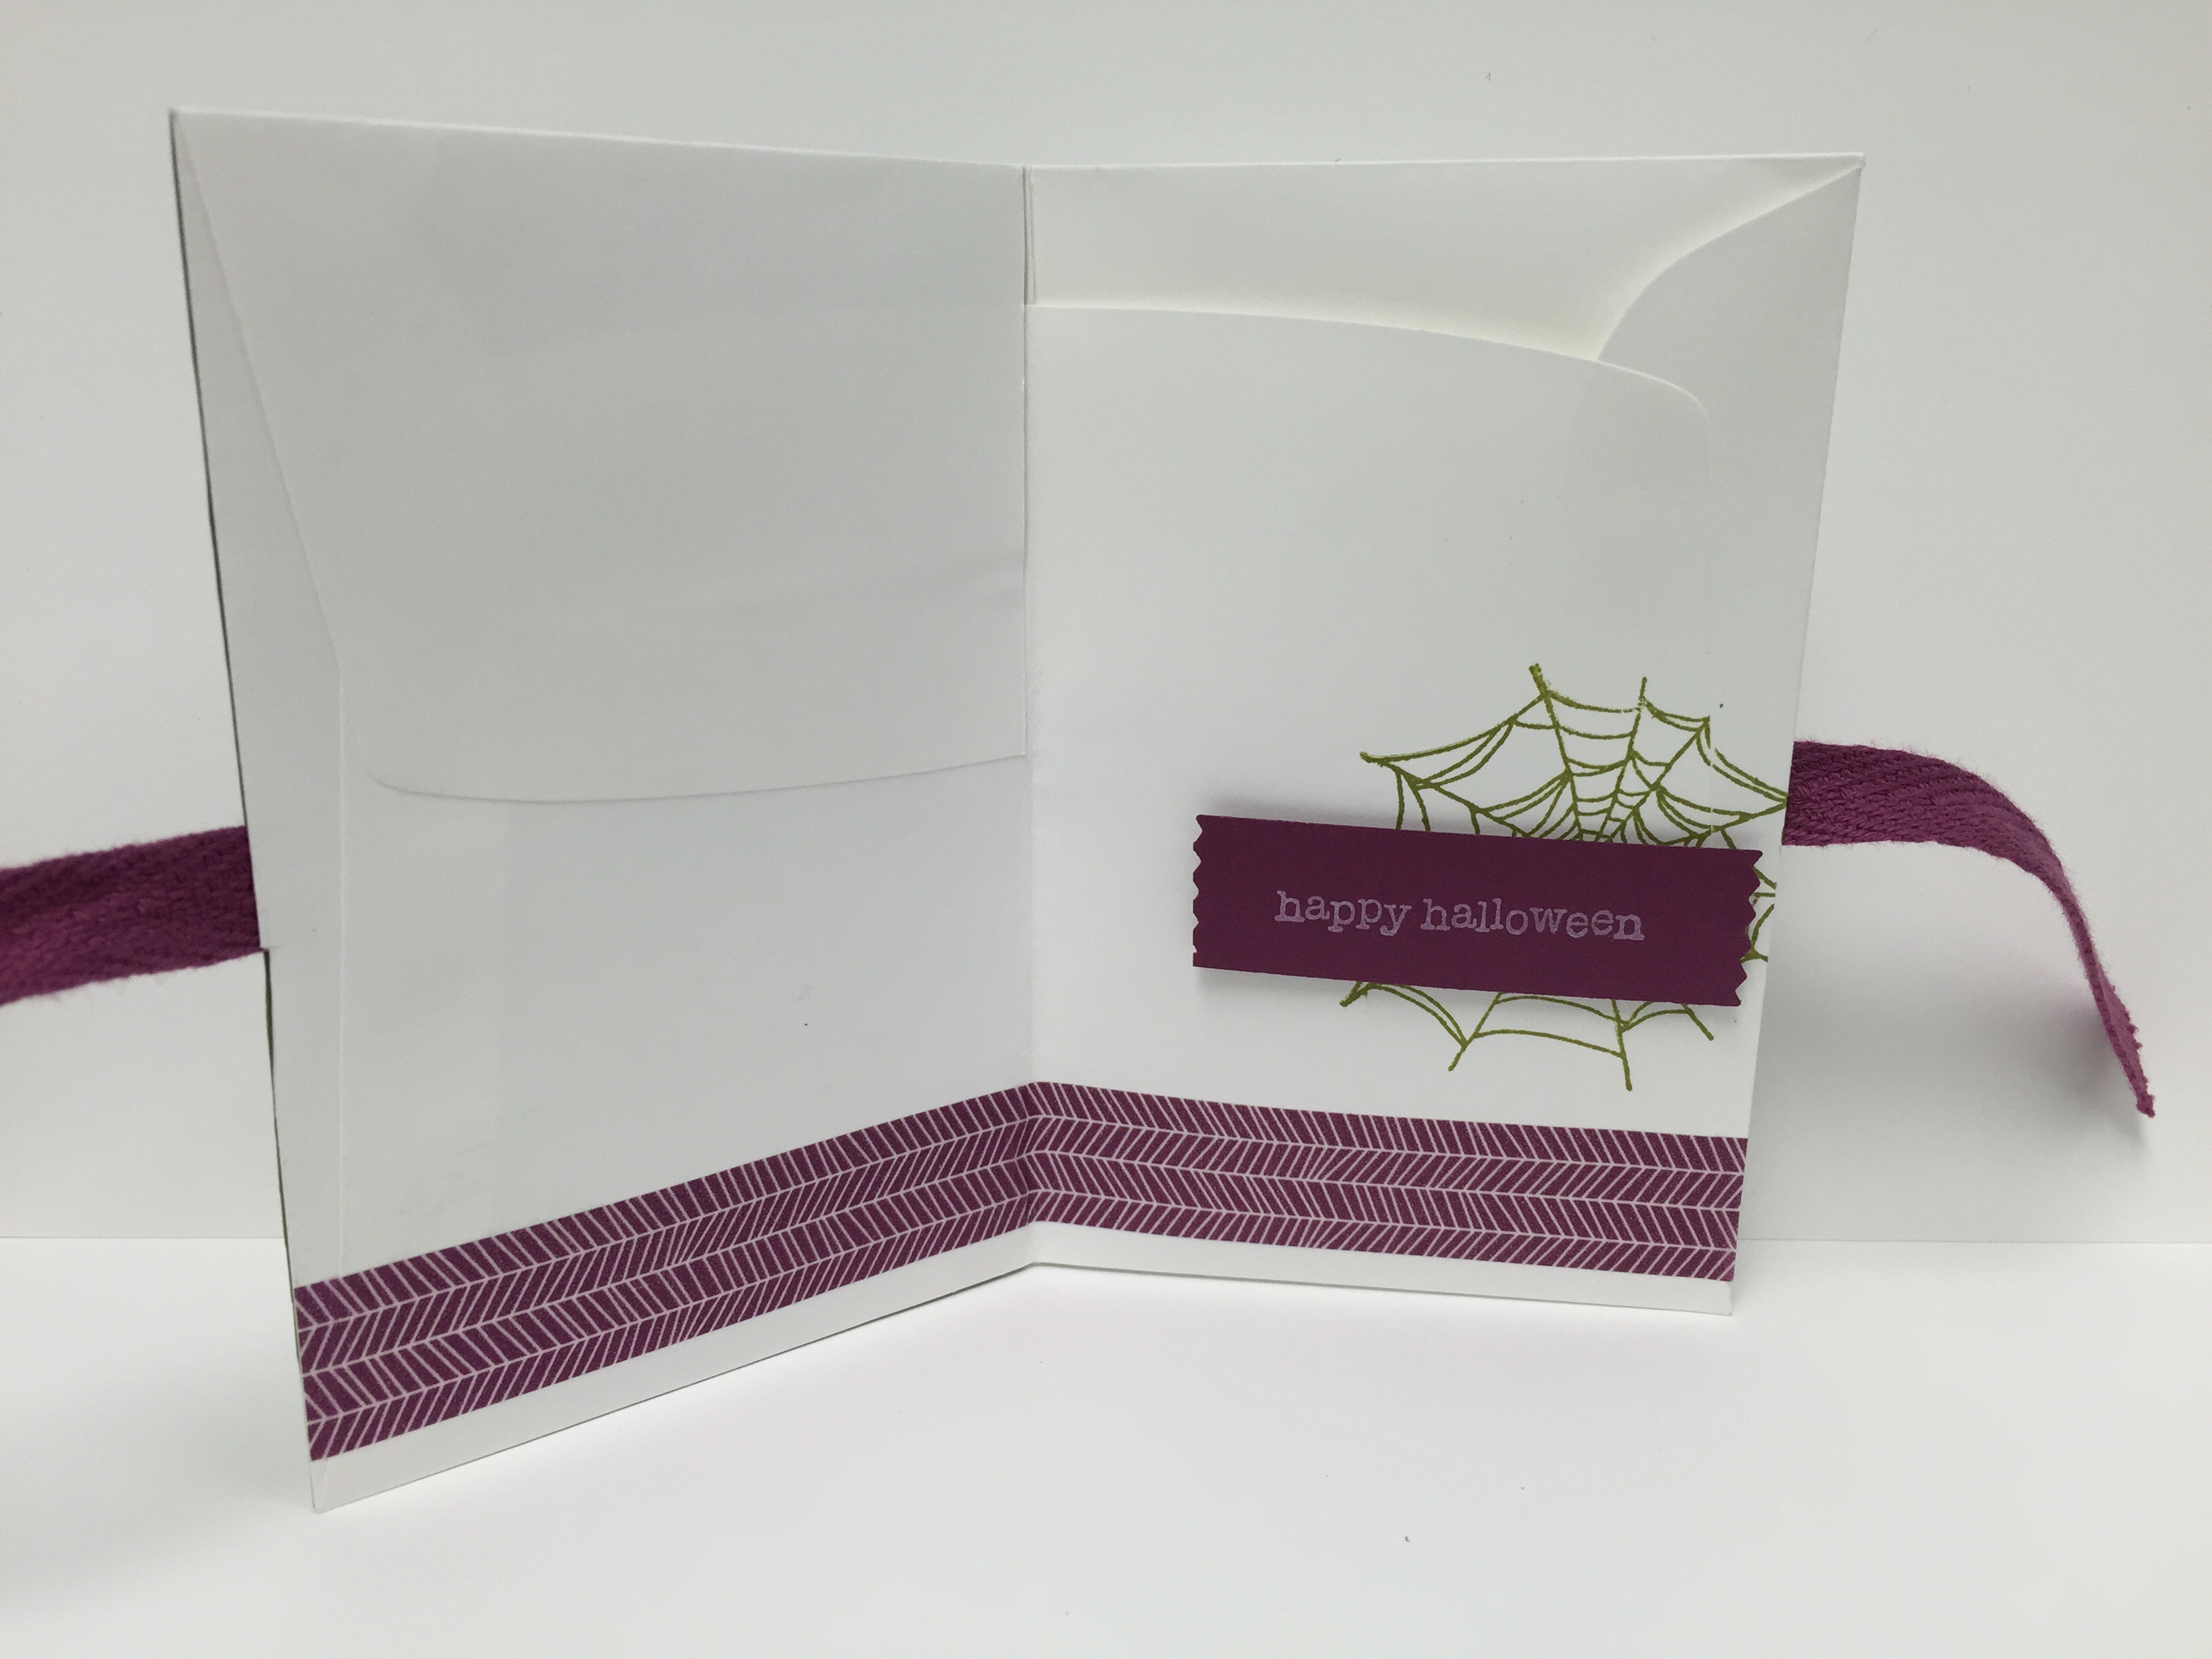
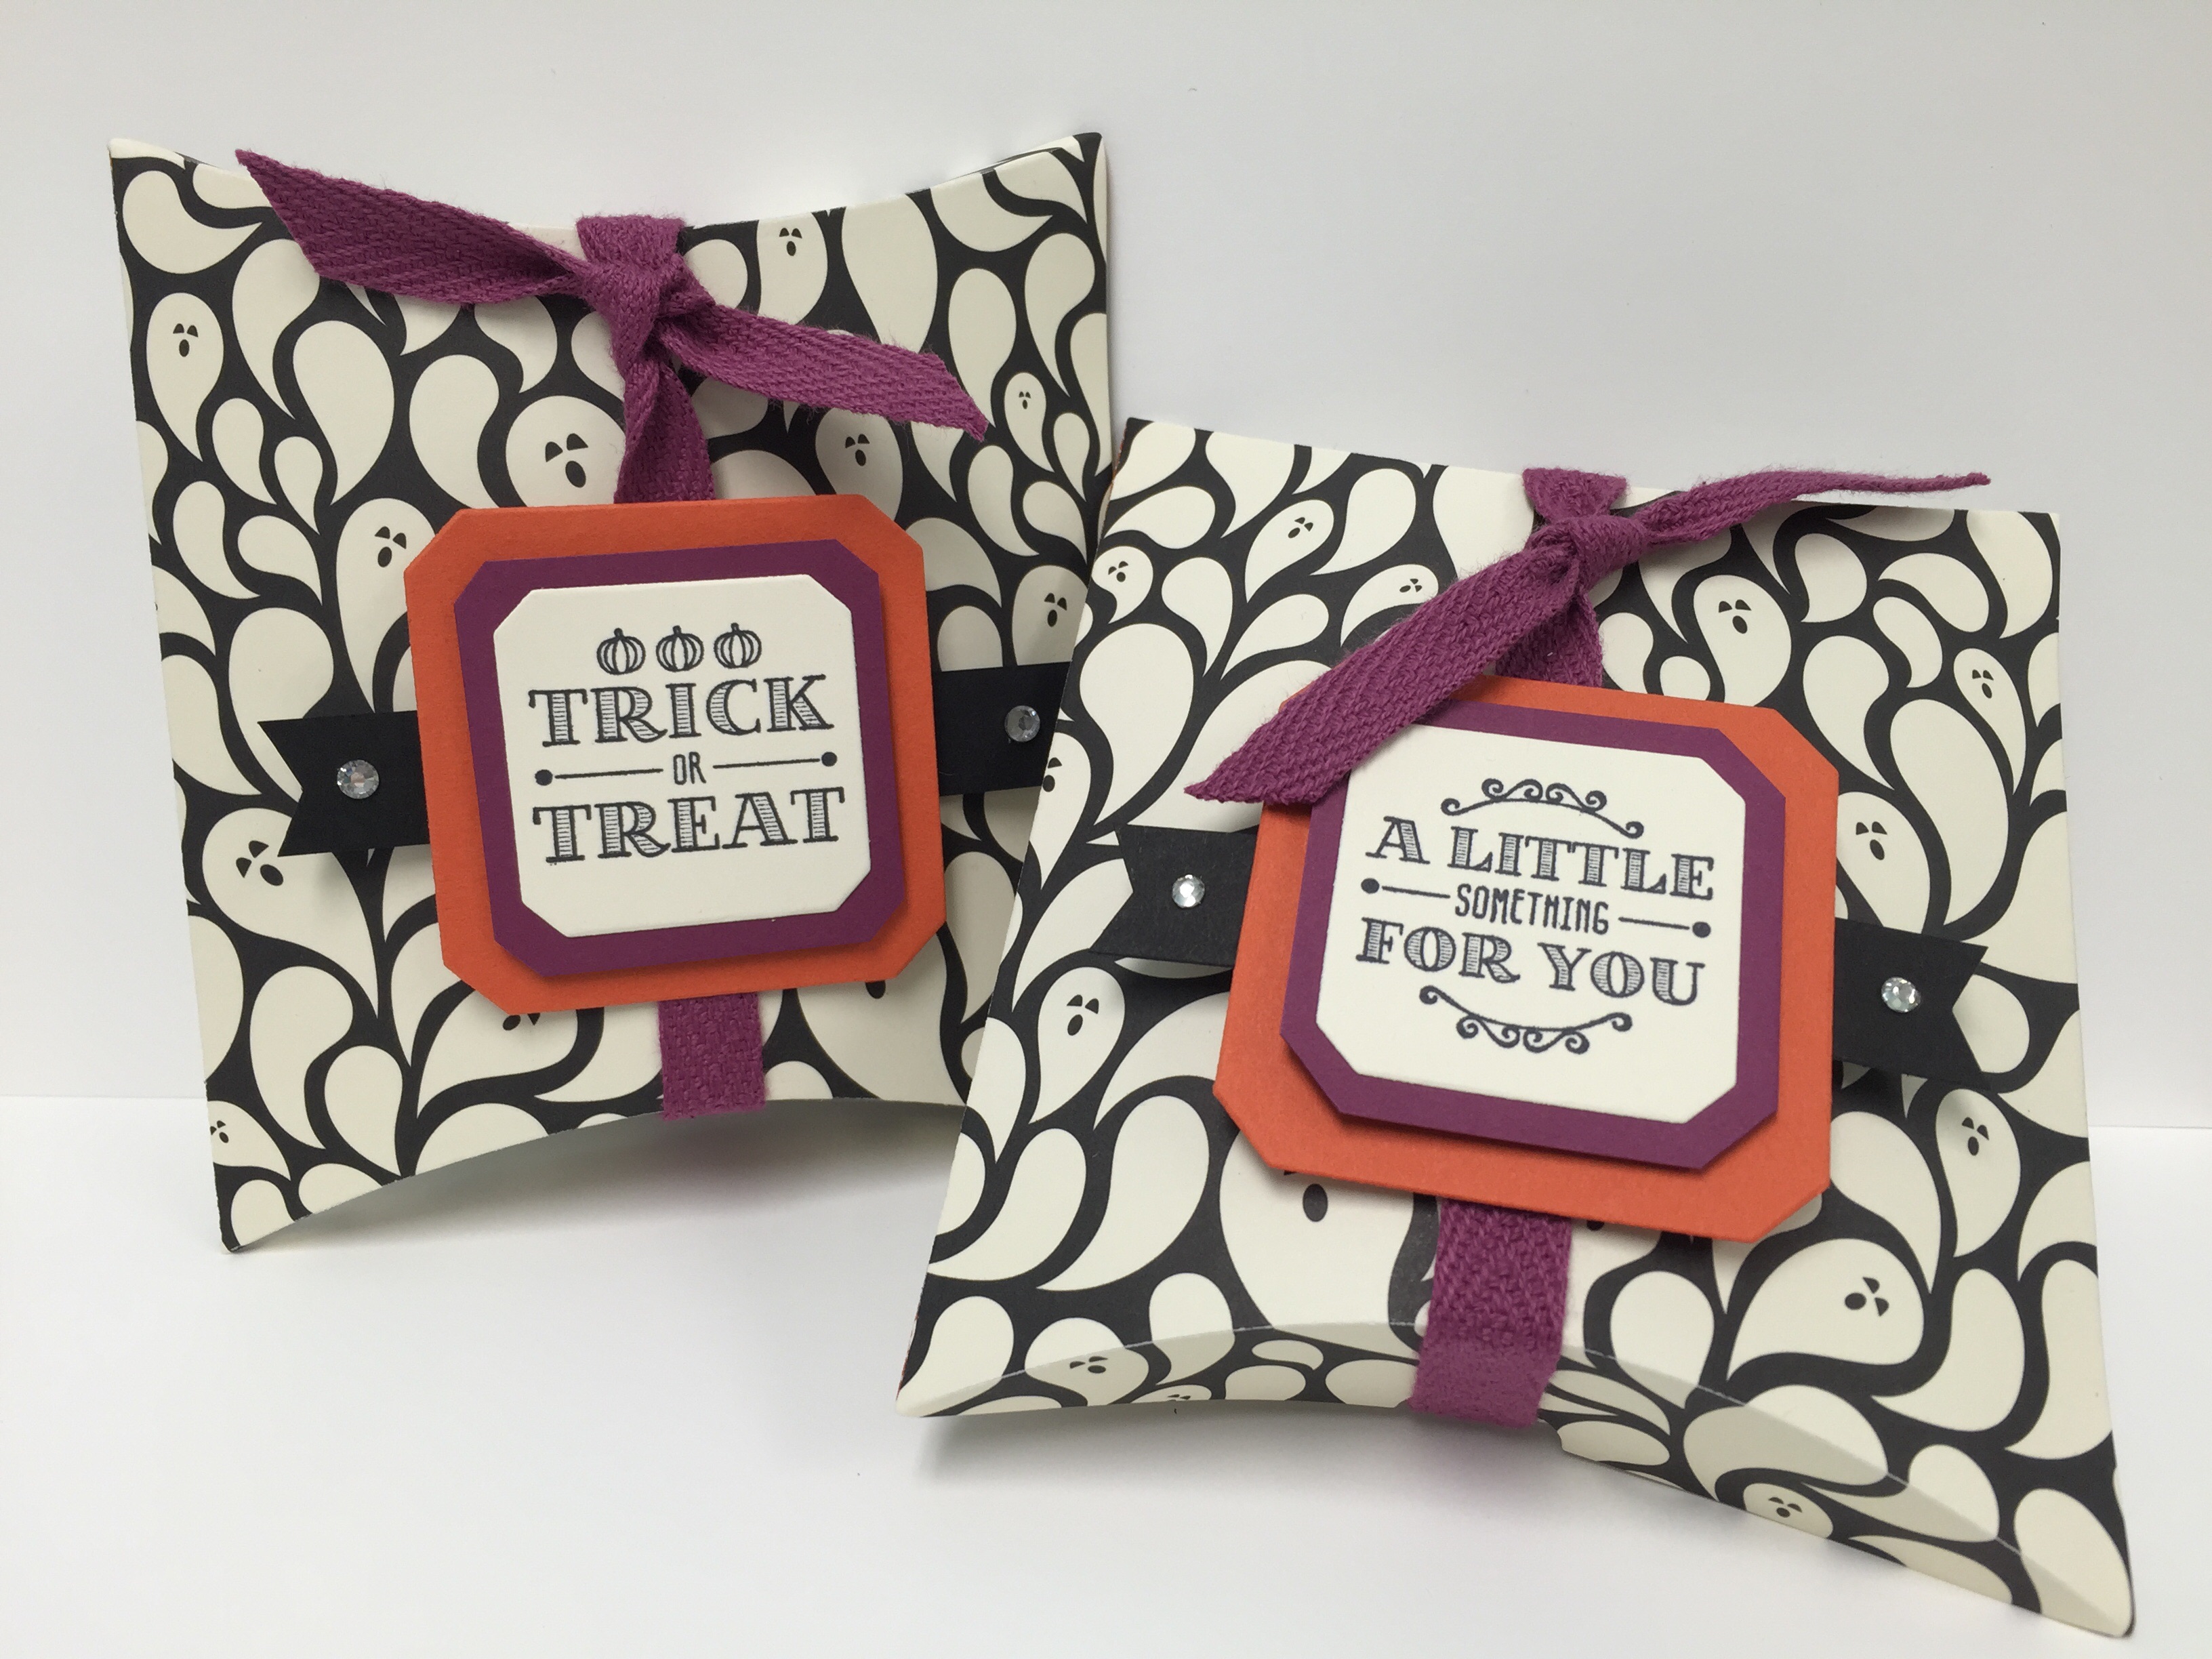
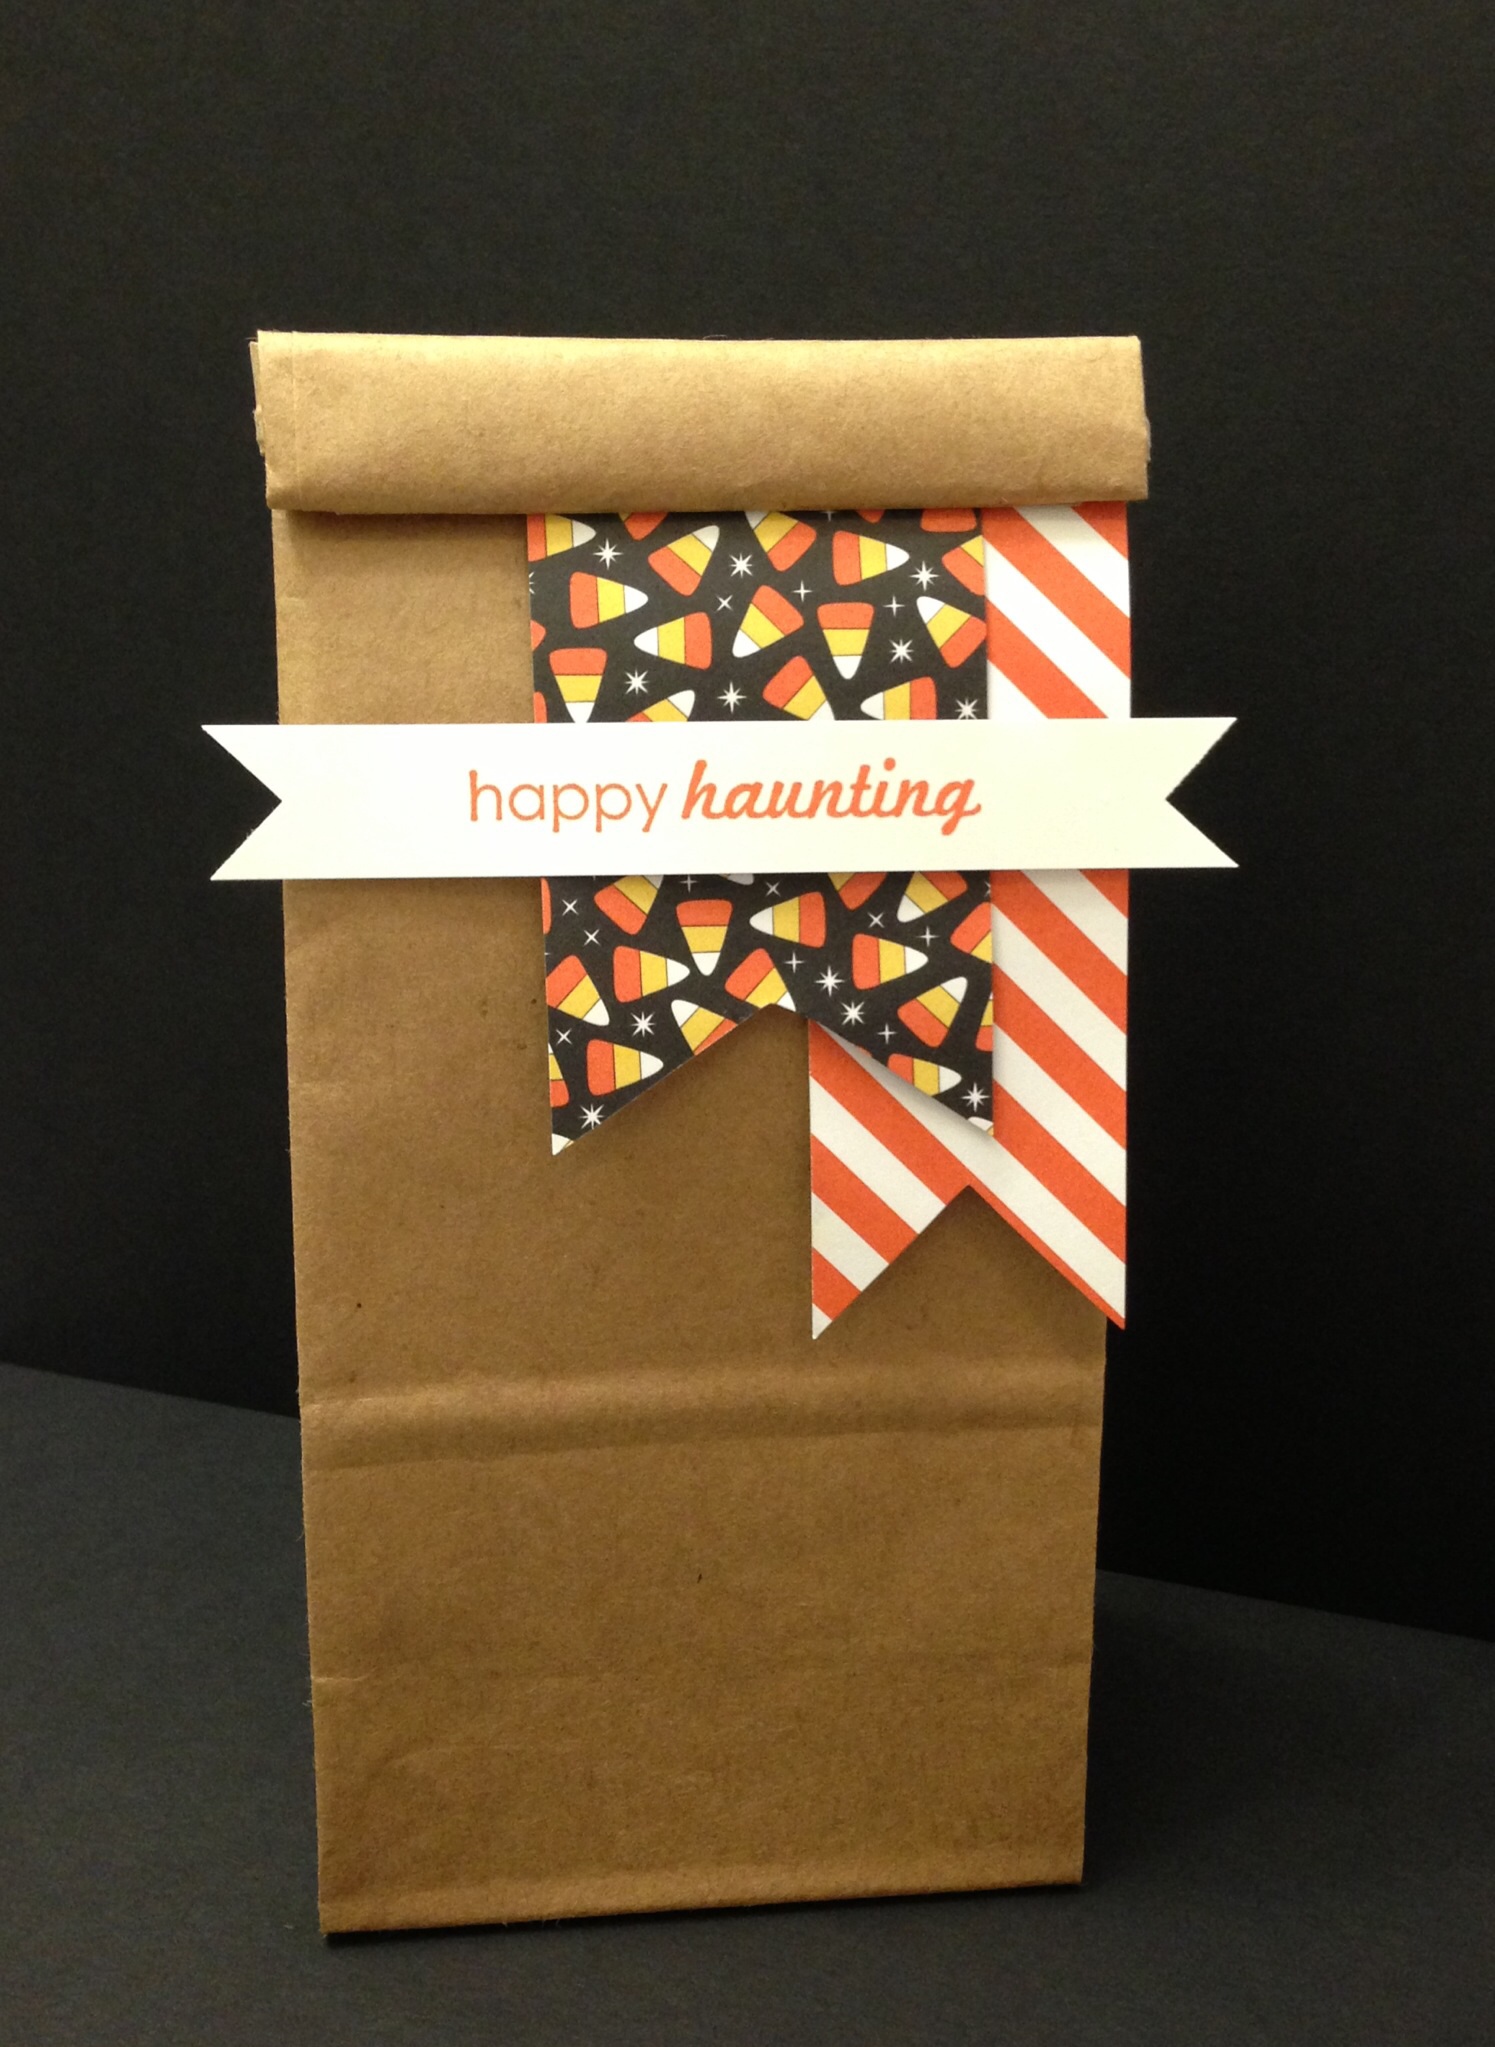
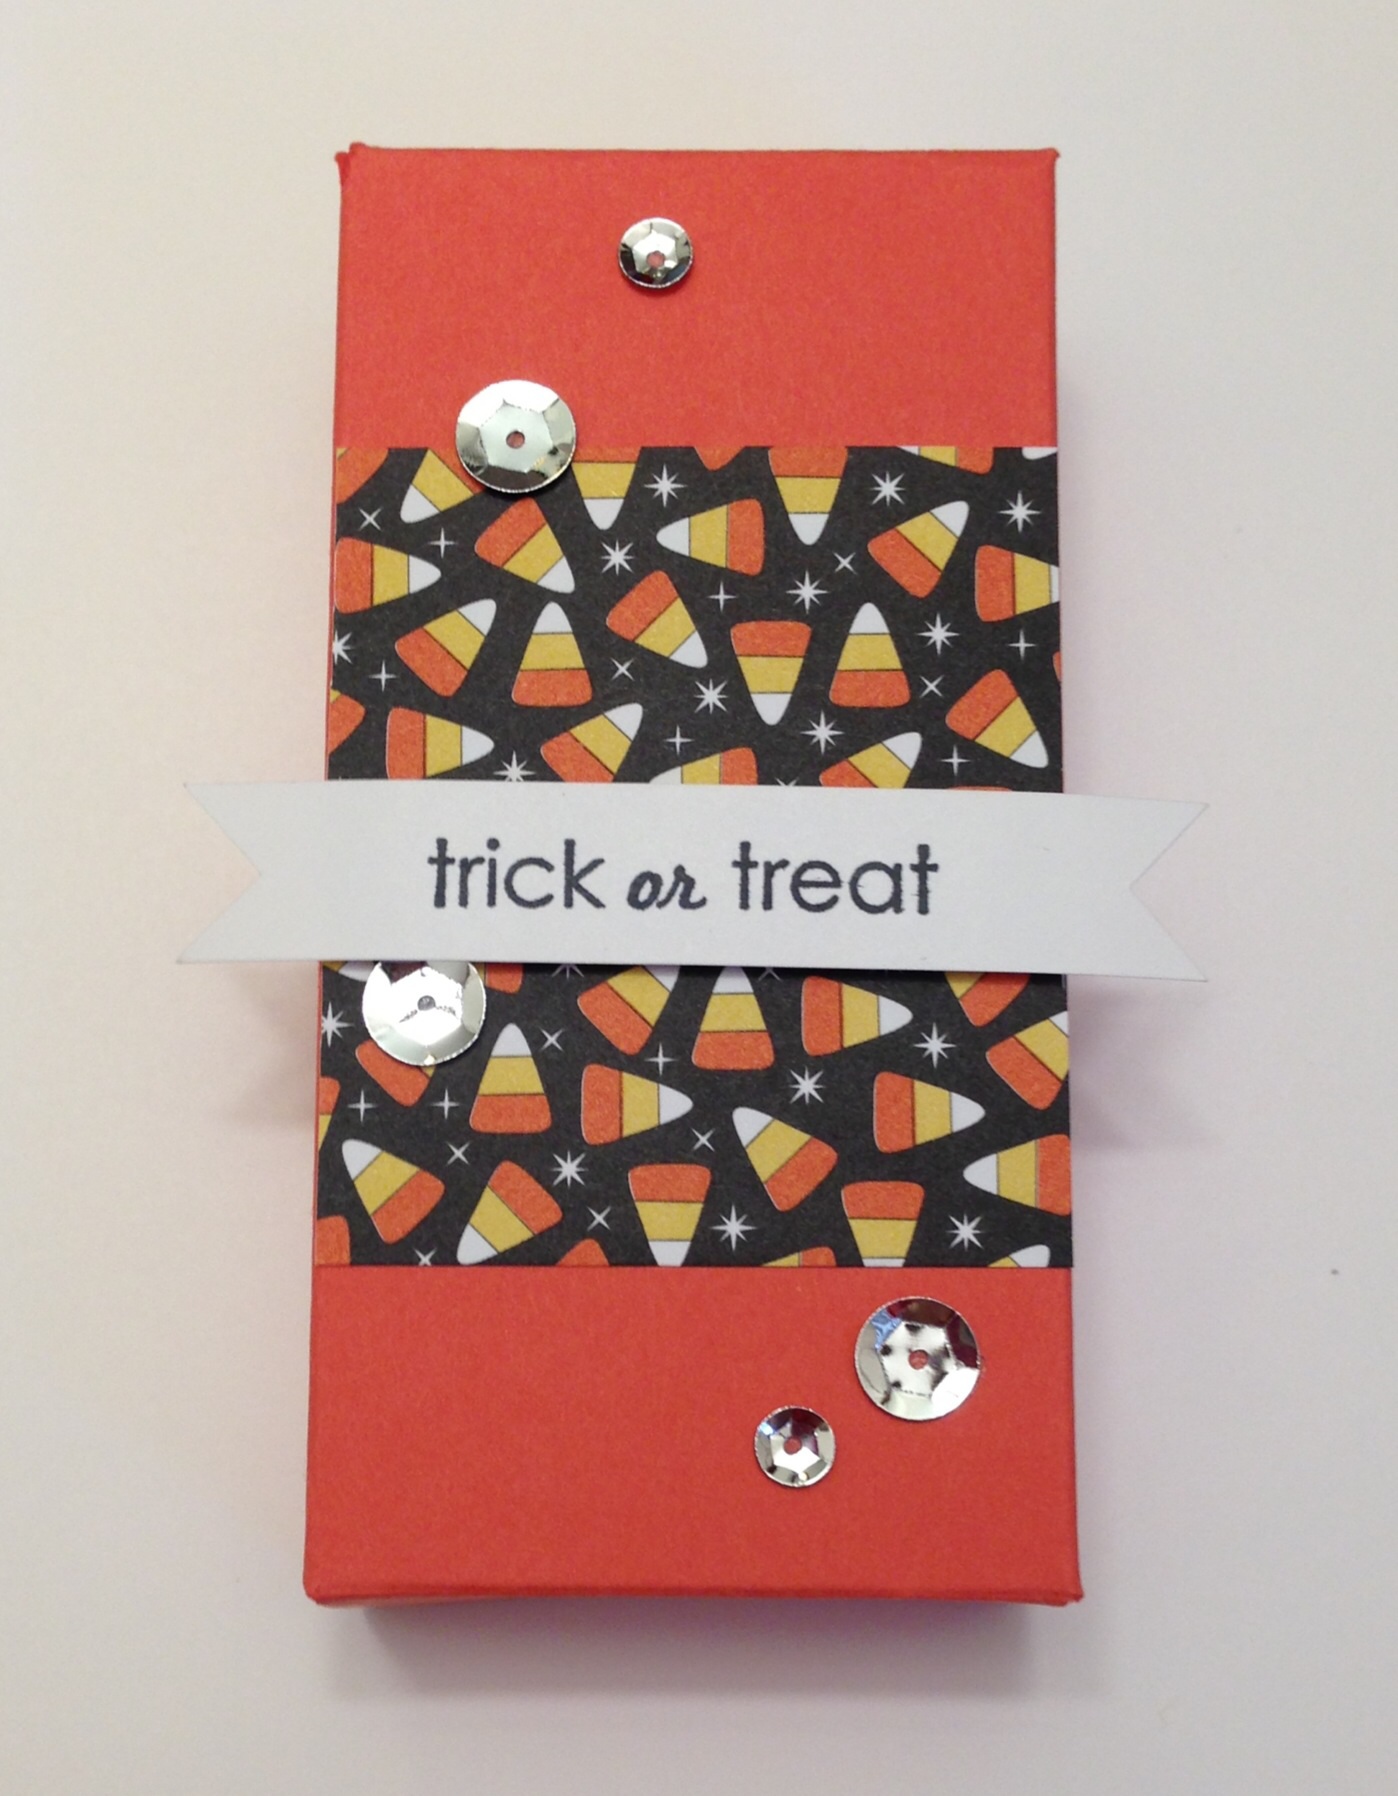
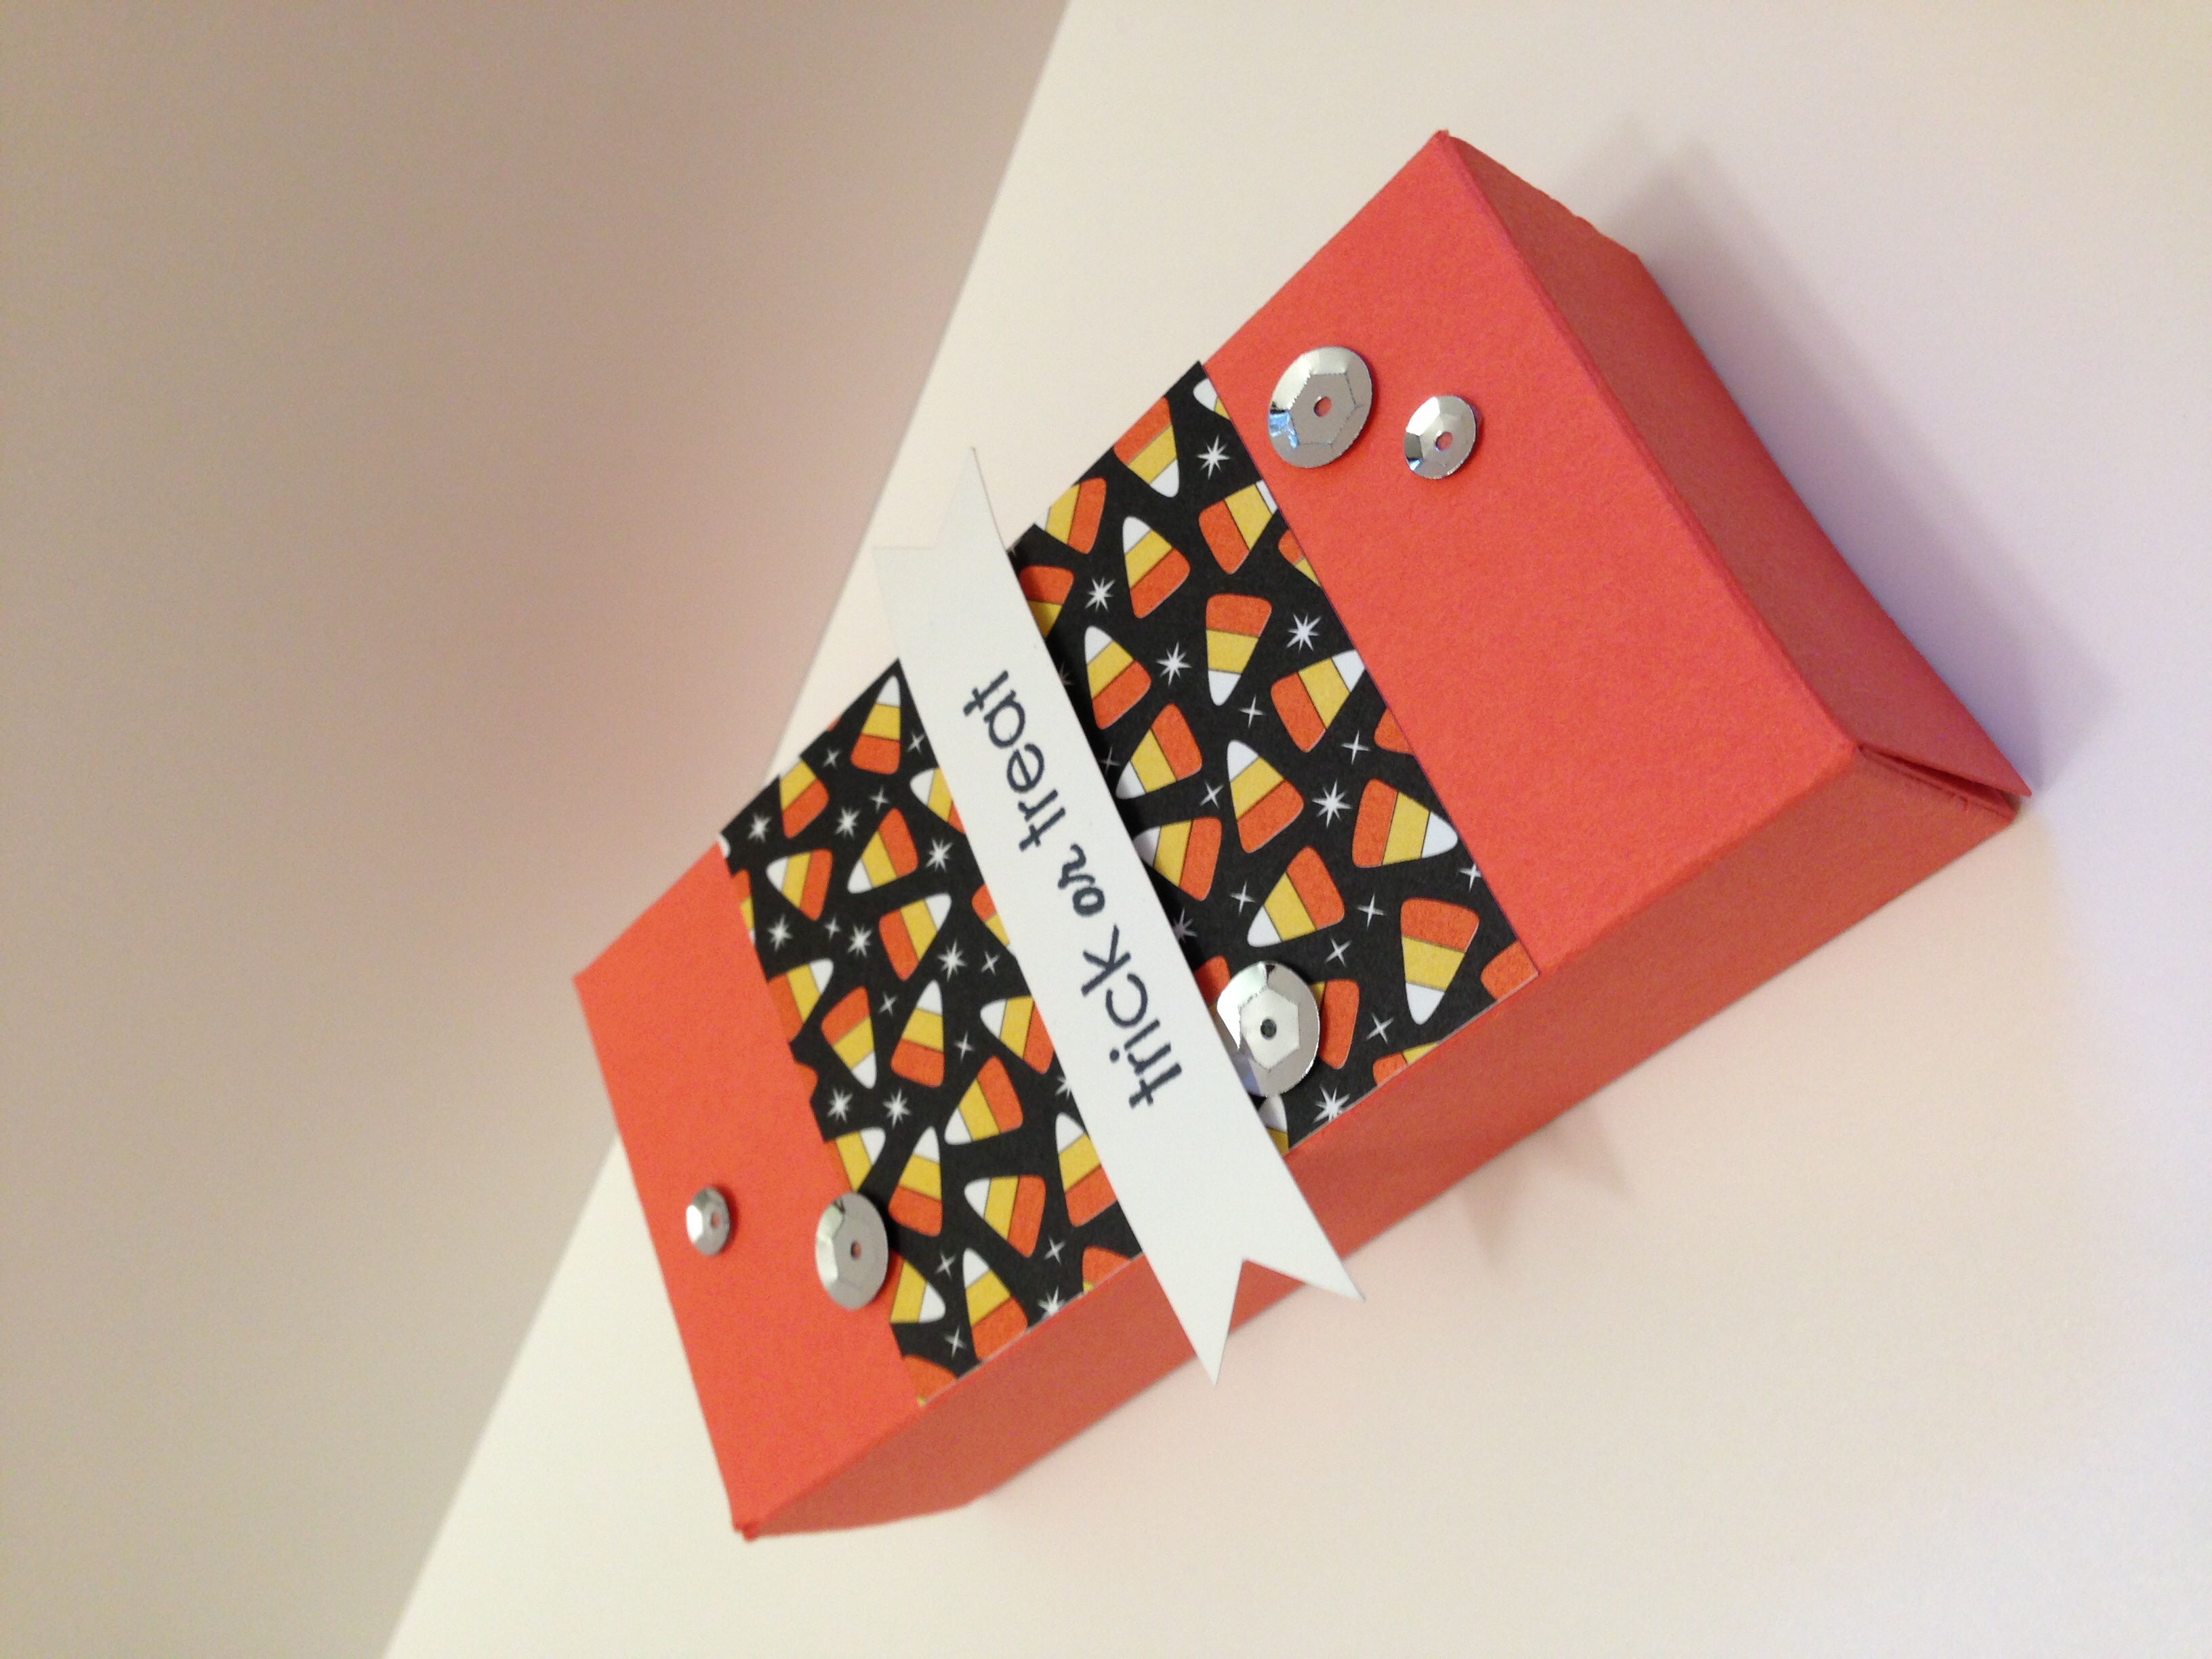
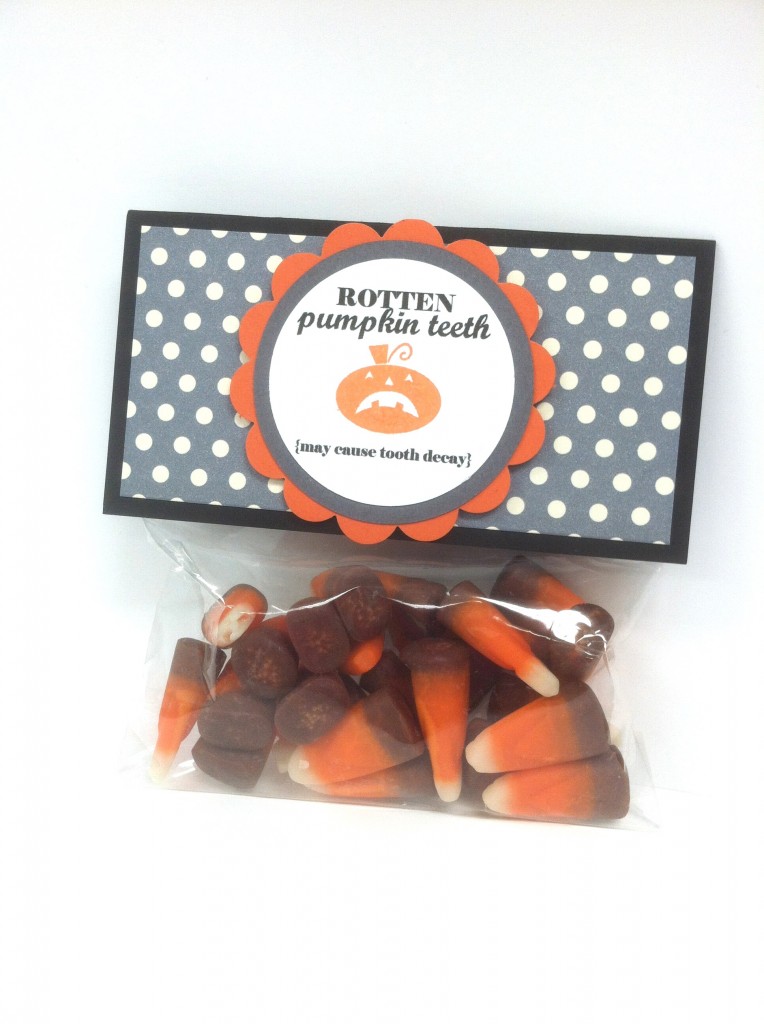
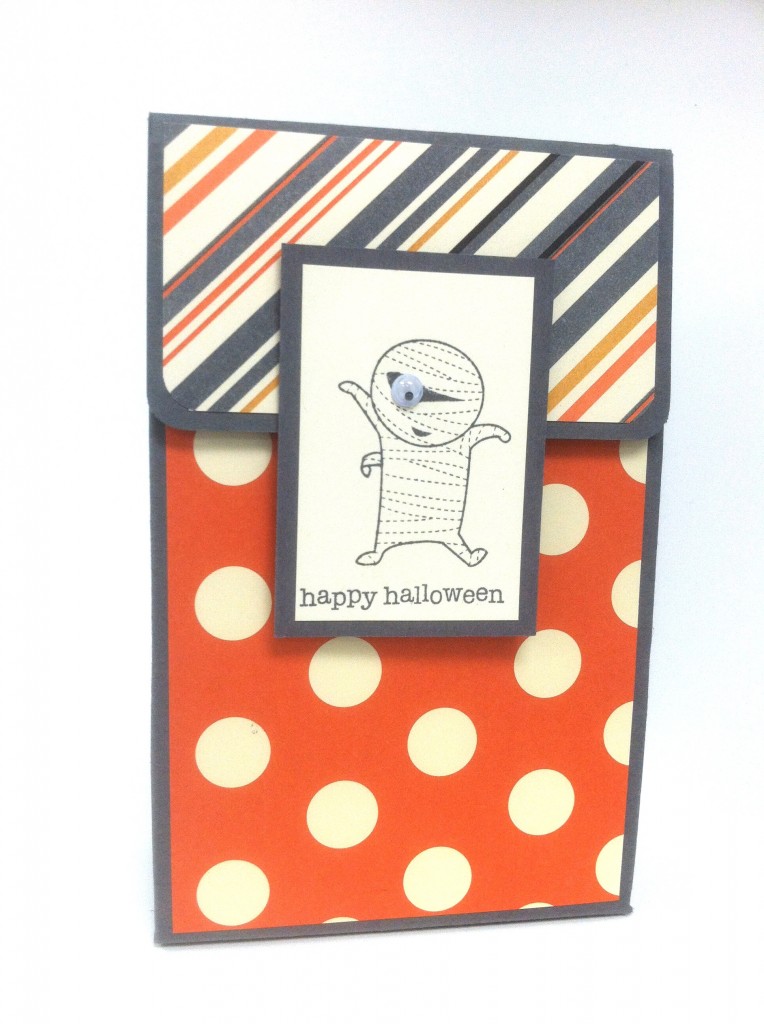
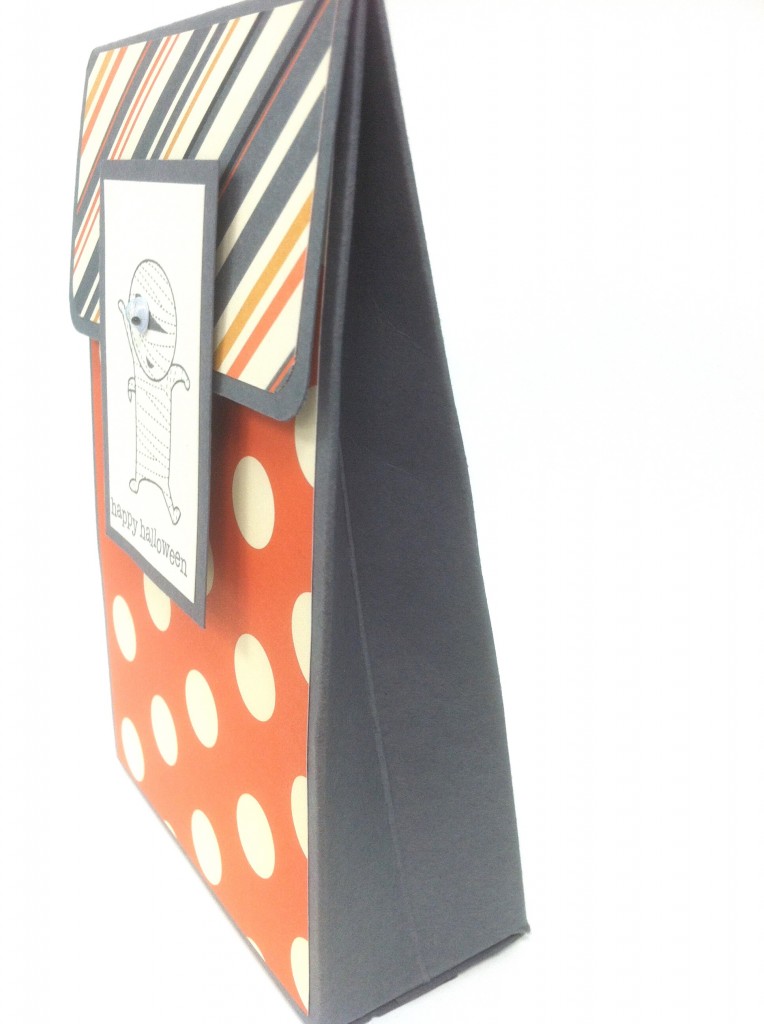
Today I have some cute Halloween themed treat bags to show you.  I don’t know if you’ve seen those adorable chevron tag a bag gift bags in the catalog, but they are awesome.  Although I love the chevron bags, I chose to create my own template to make similar bags out of DSP. Once you have a template, they come together pretty quickly. This is what they look like when they are assembled and closed.

monday montage-003

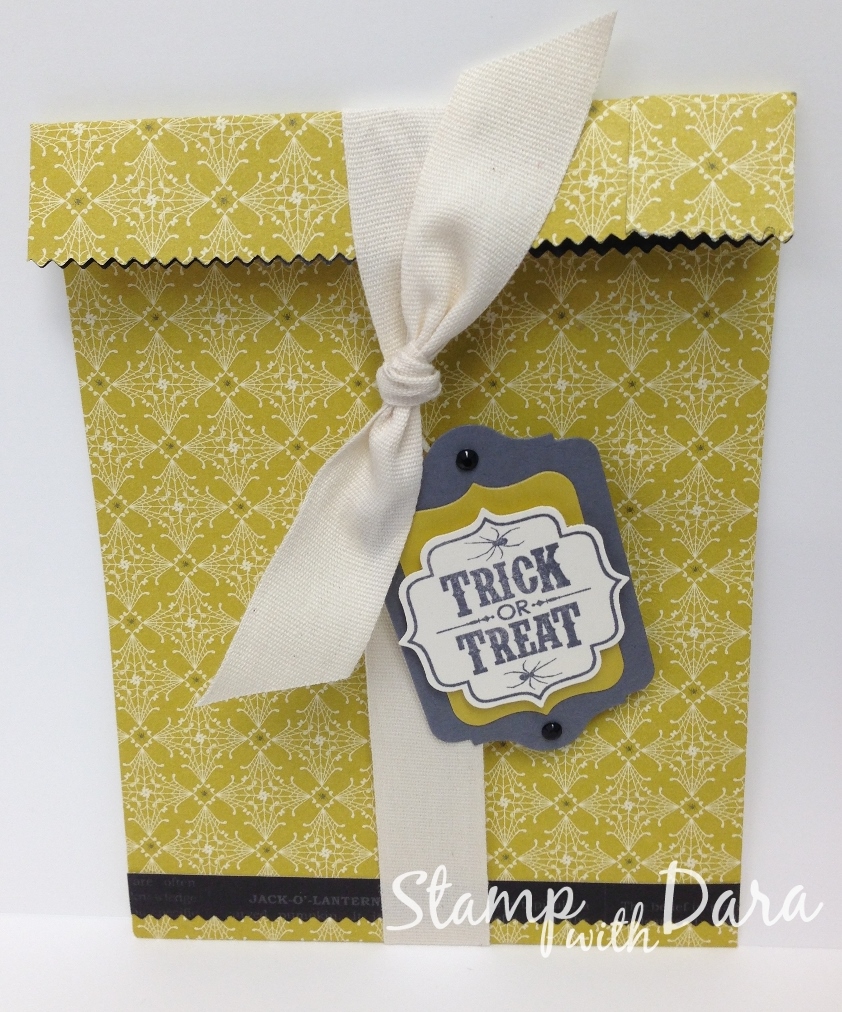
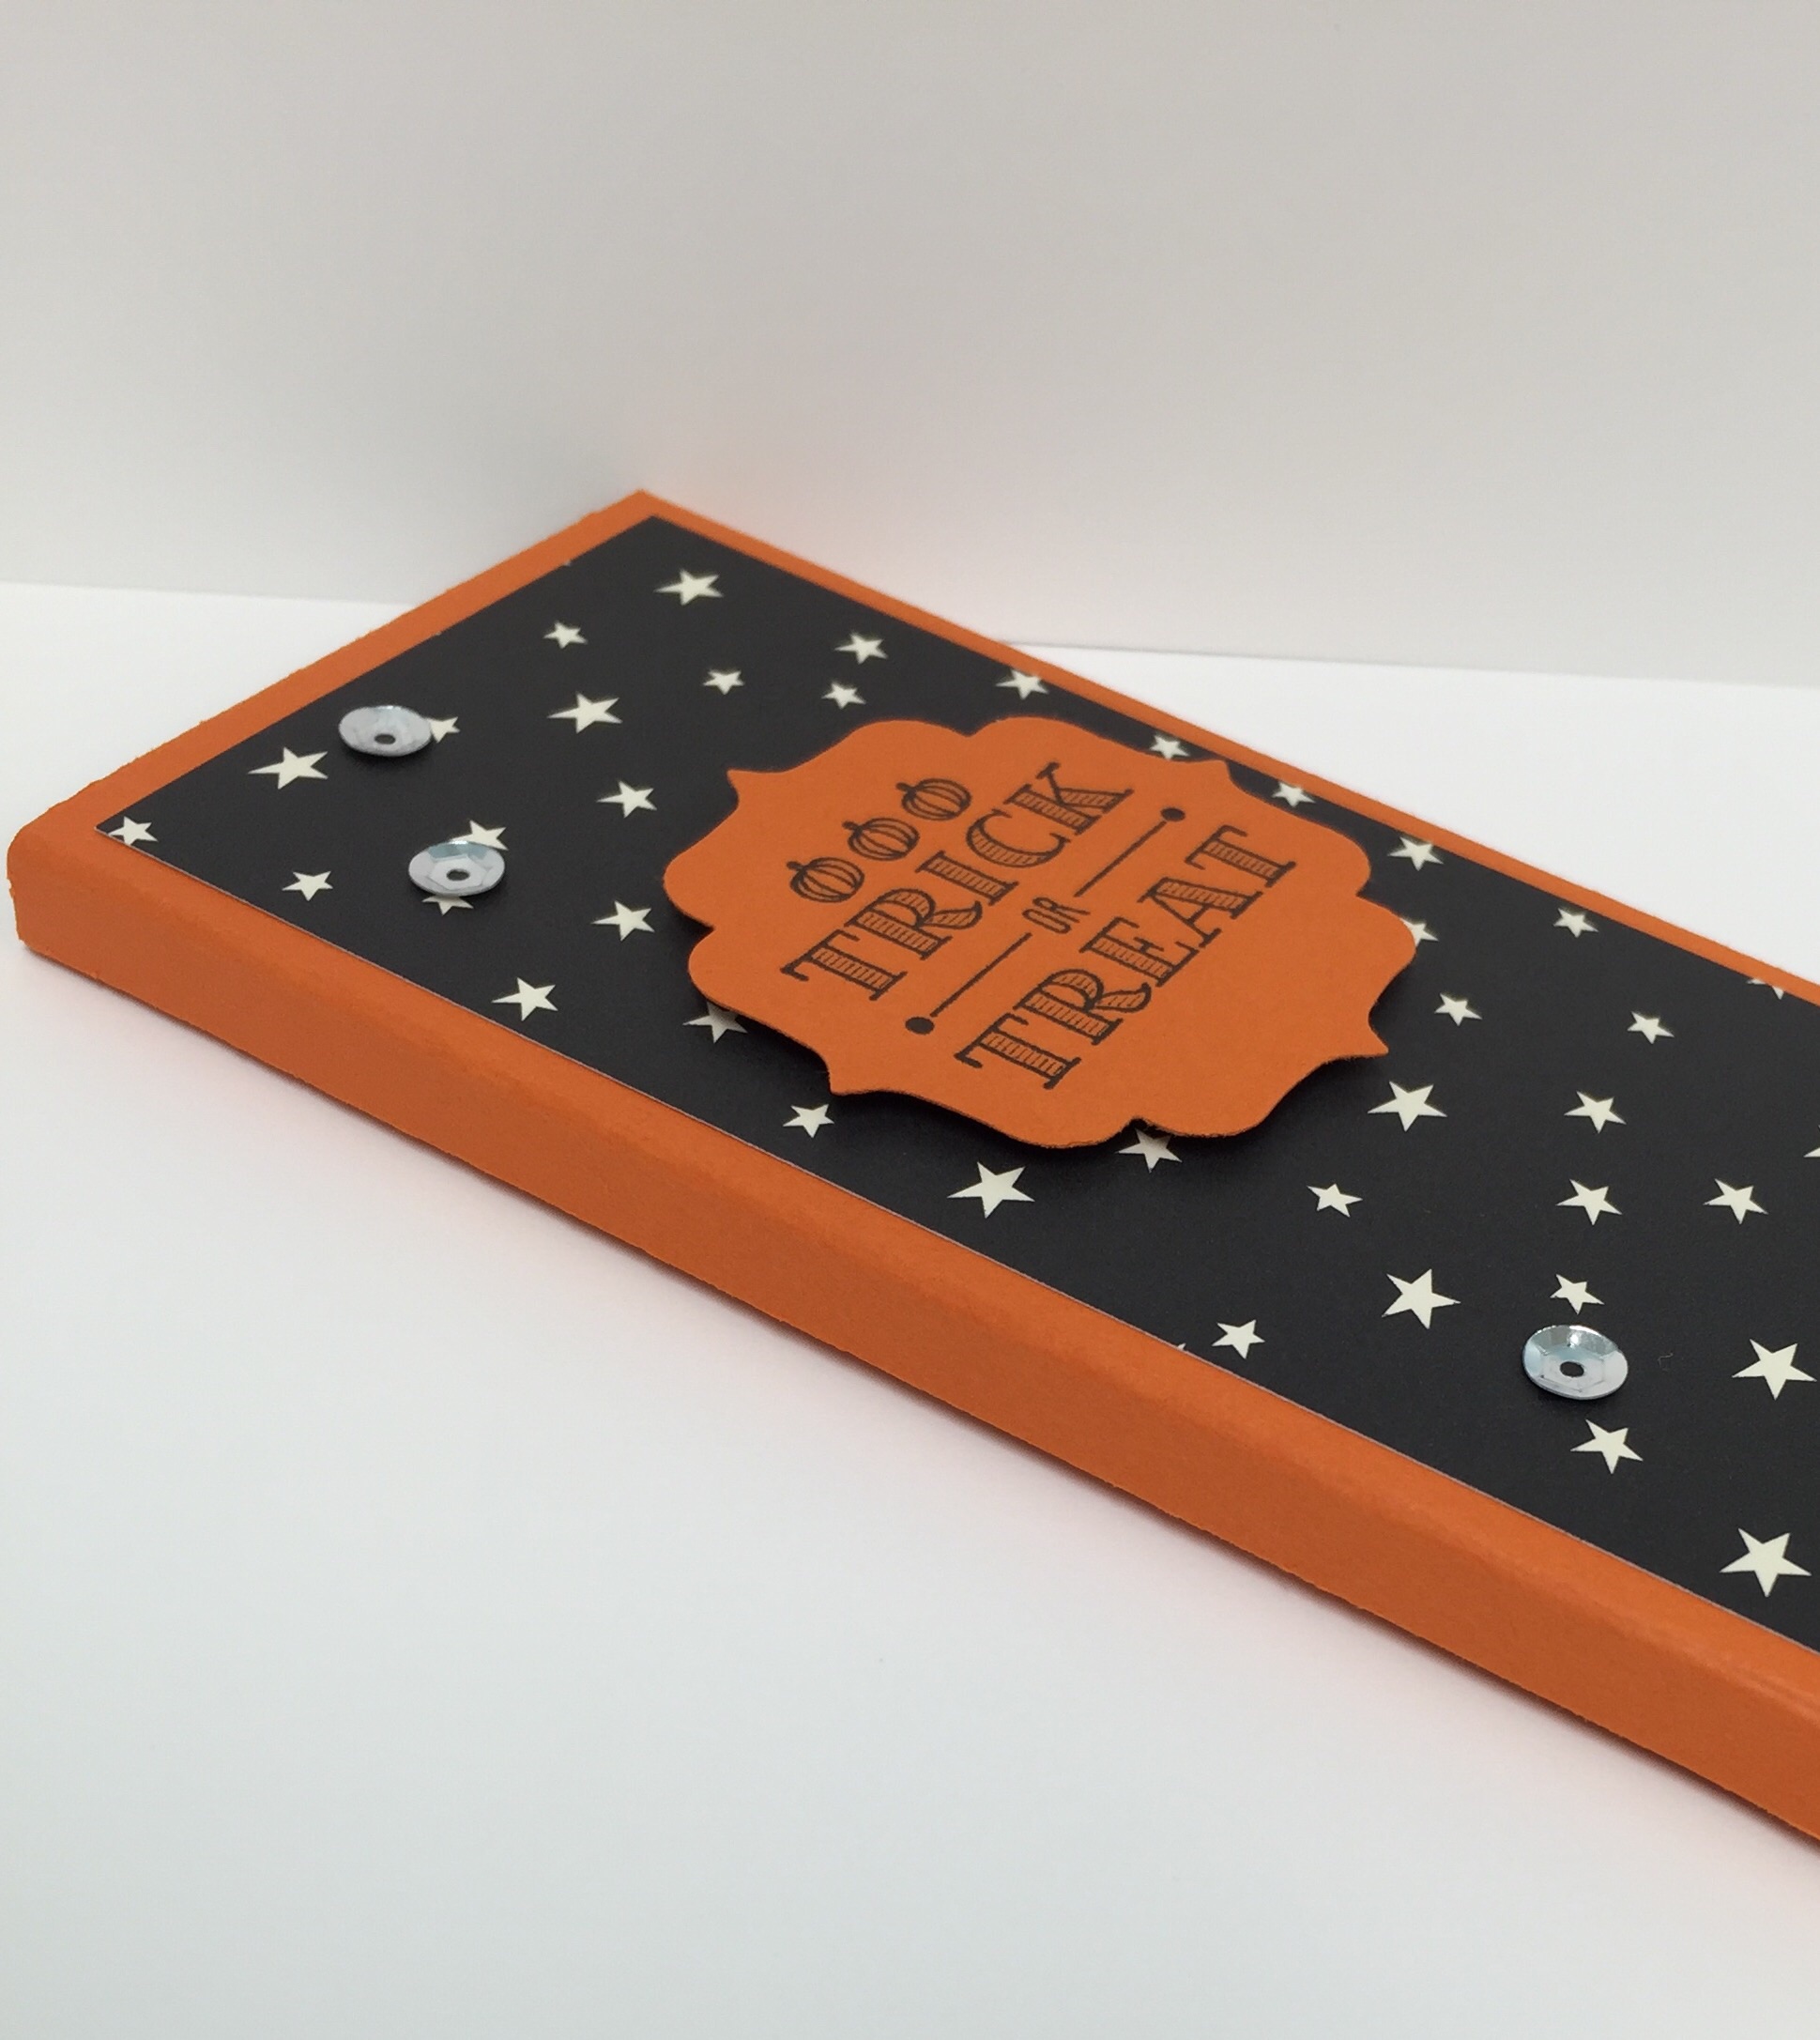
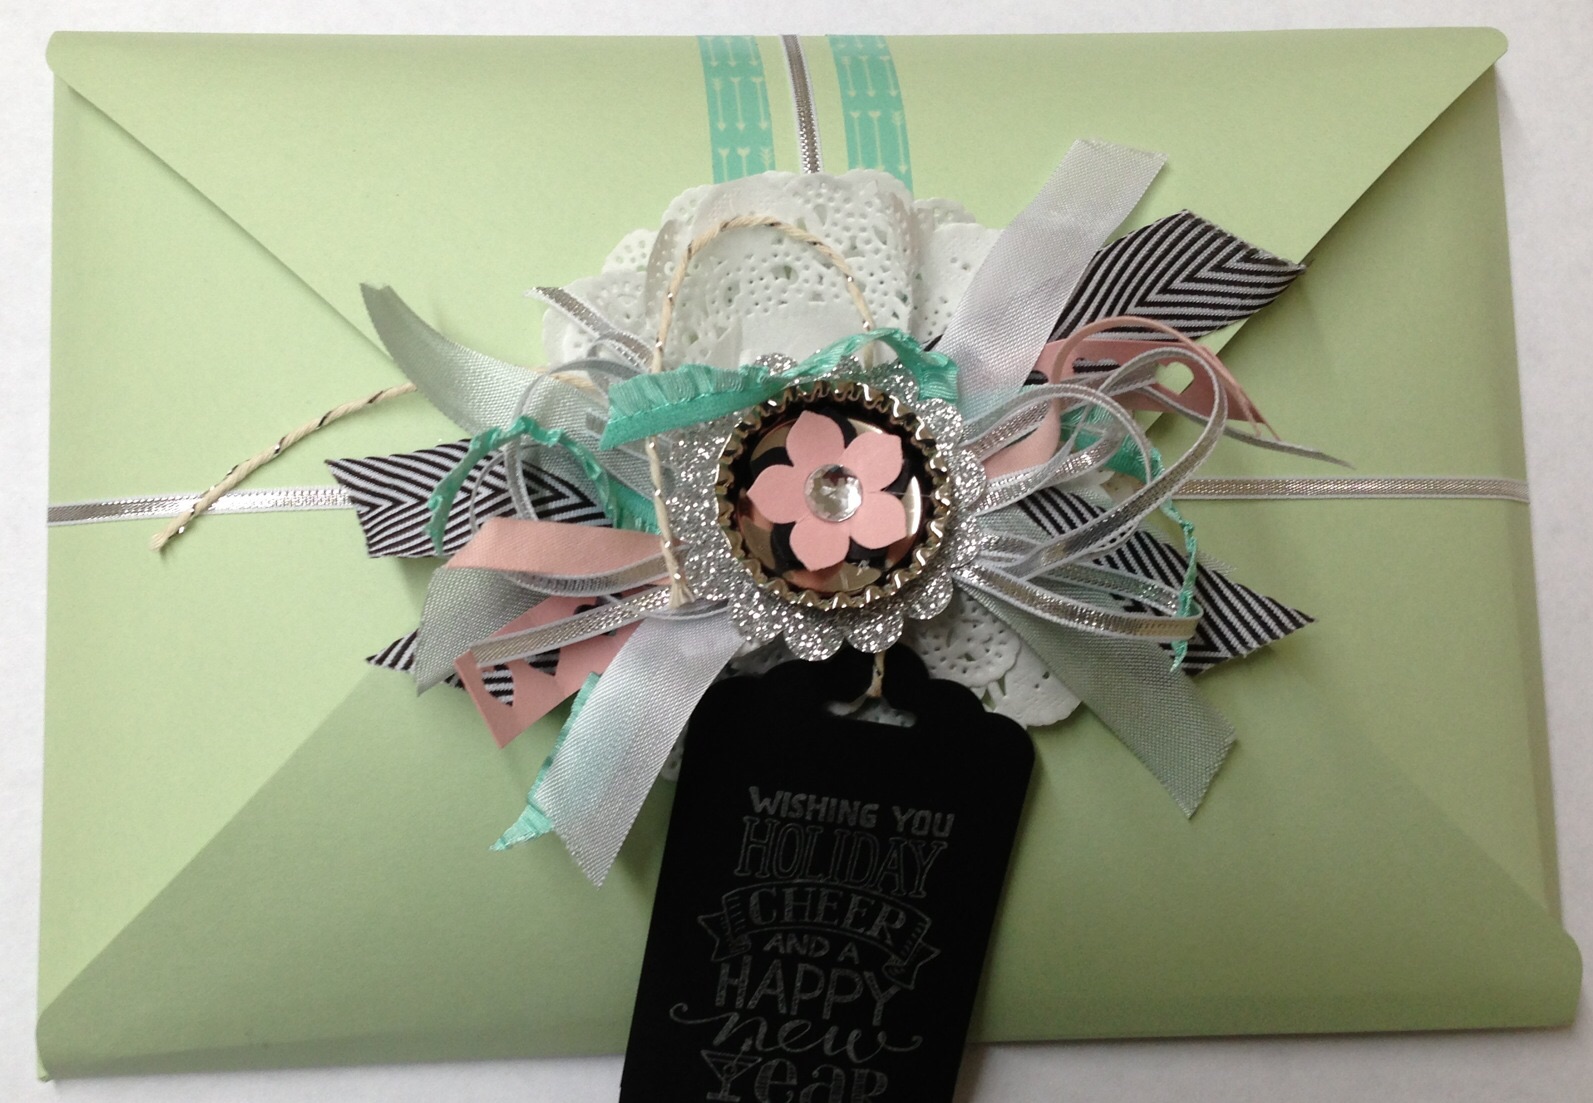
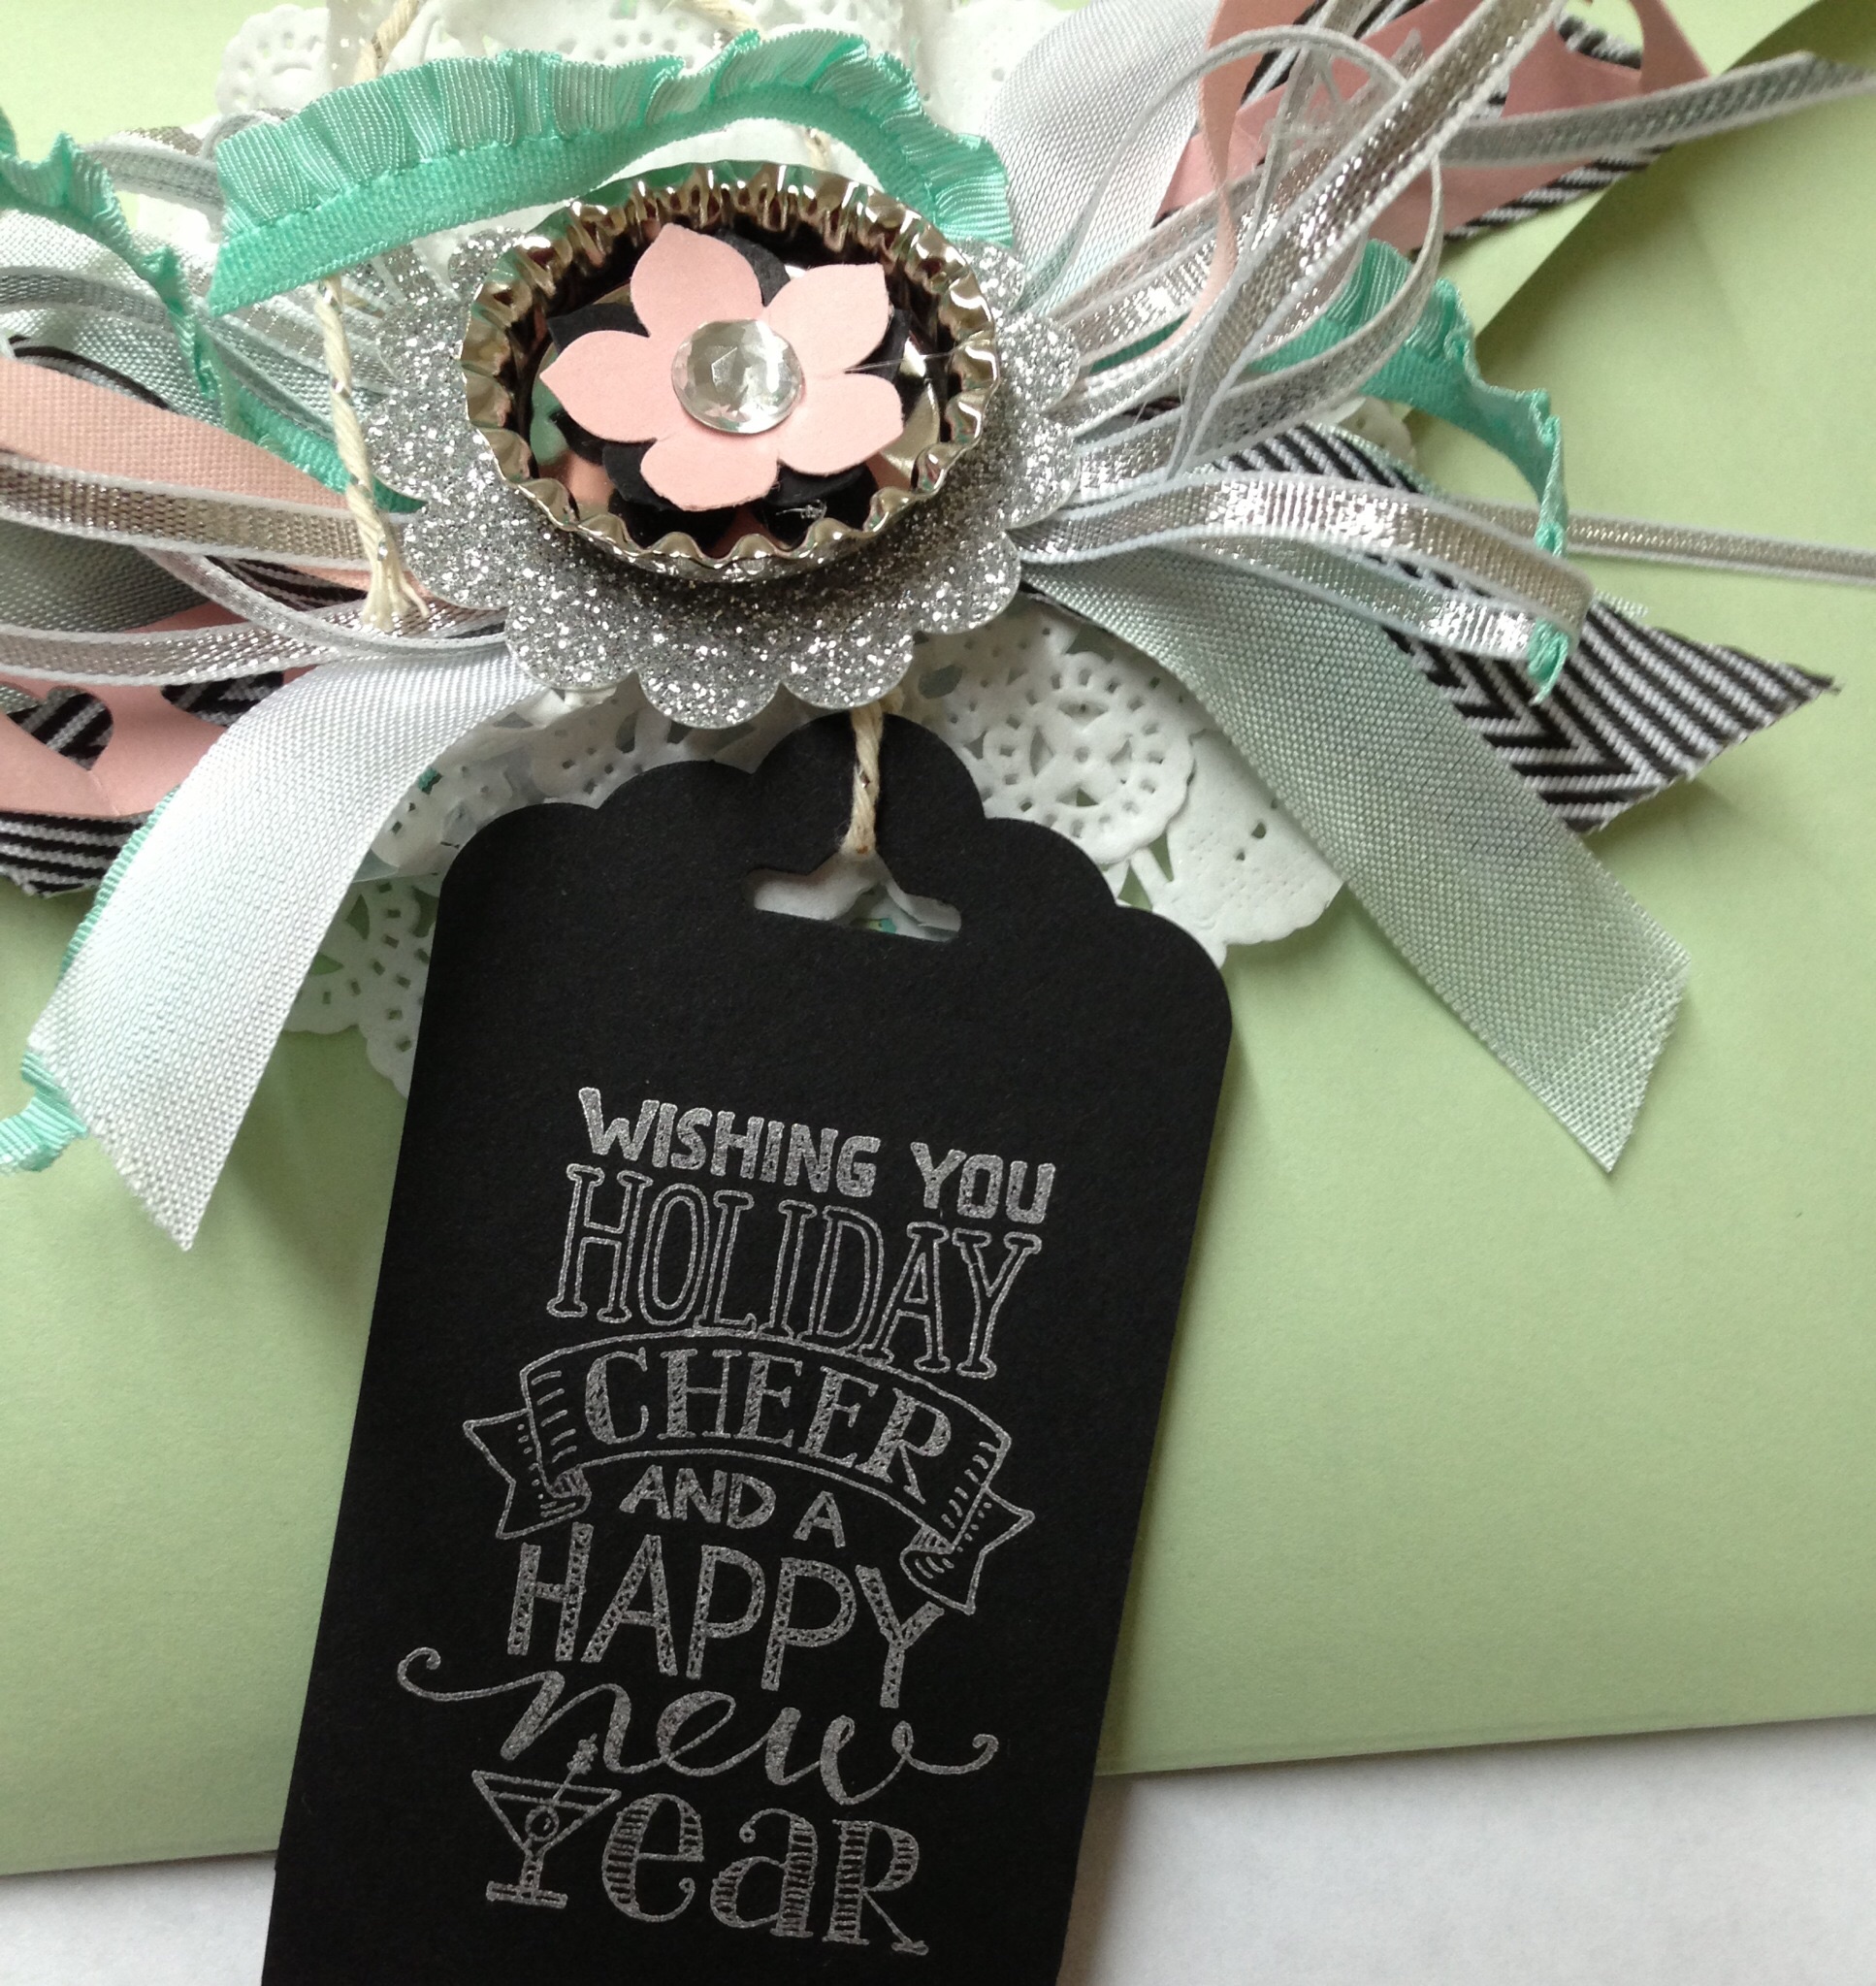
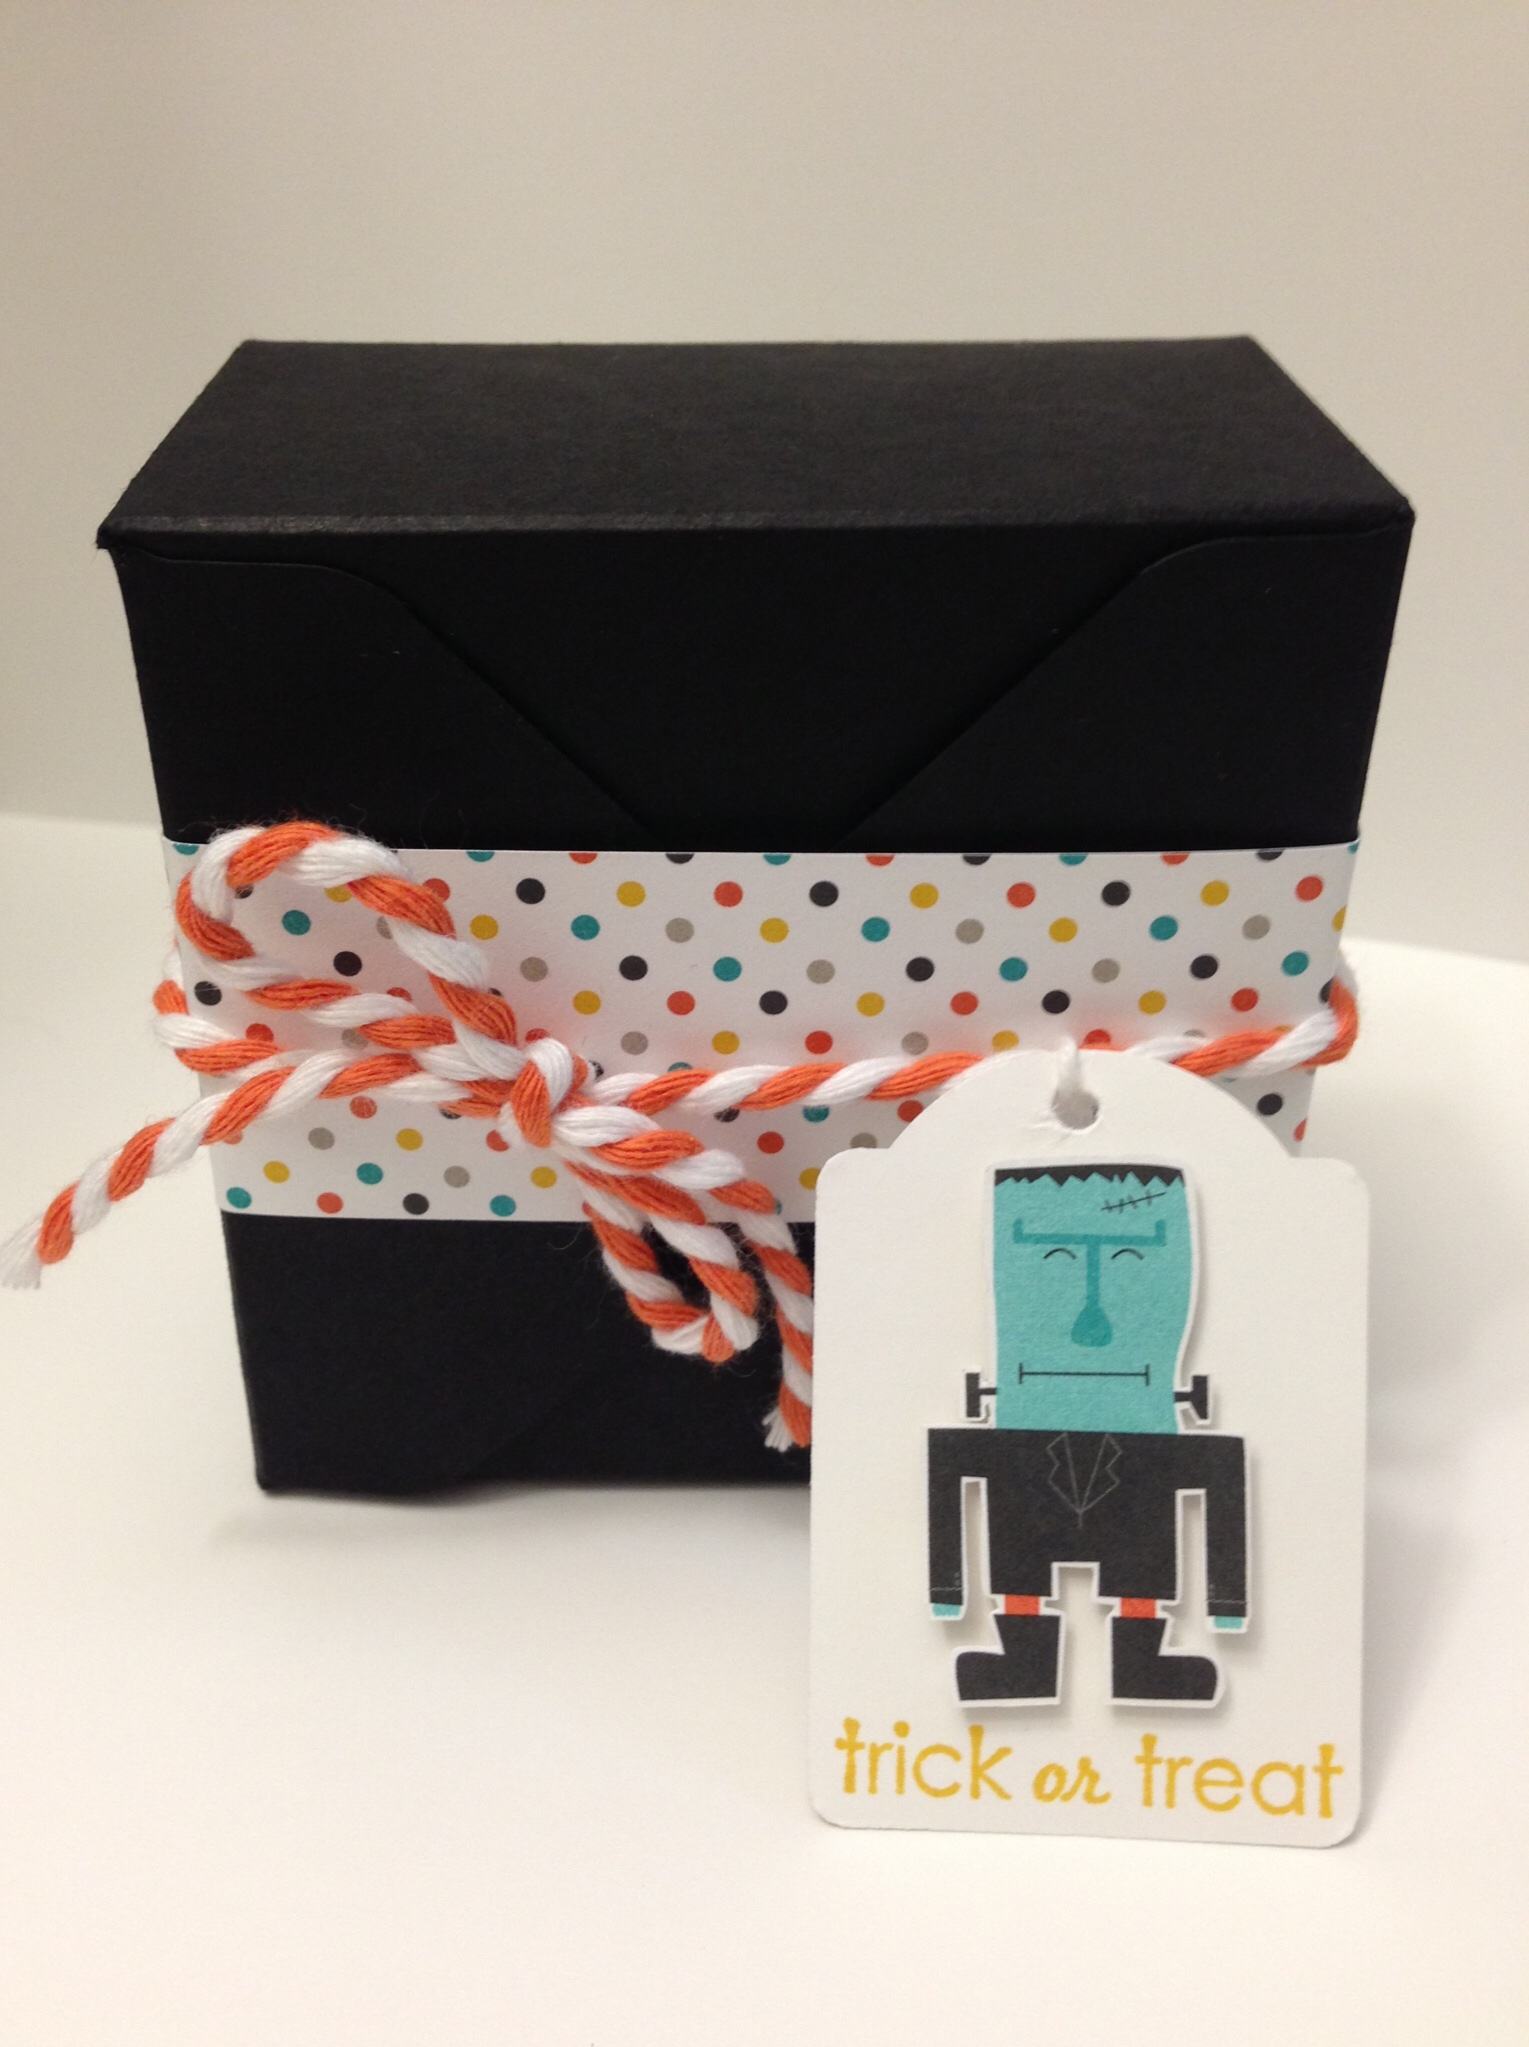
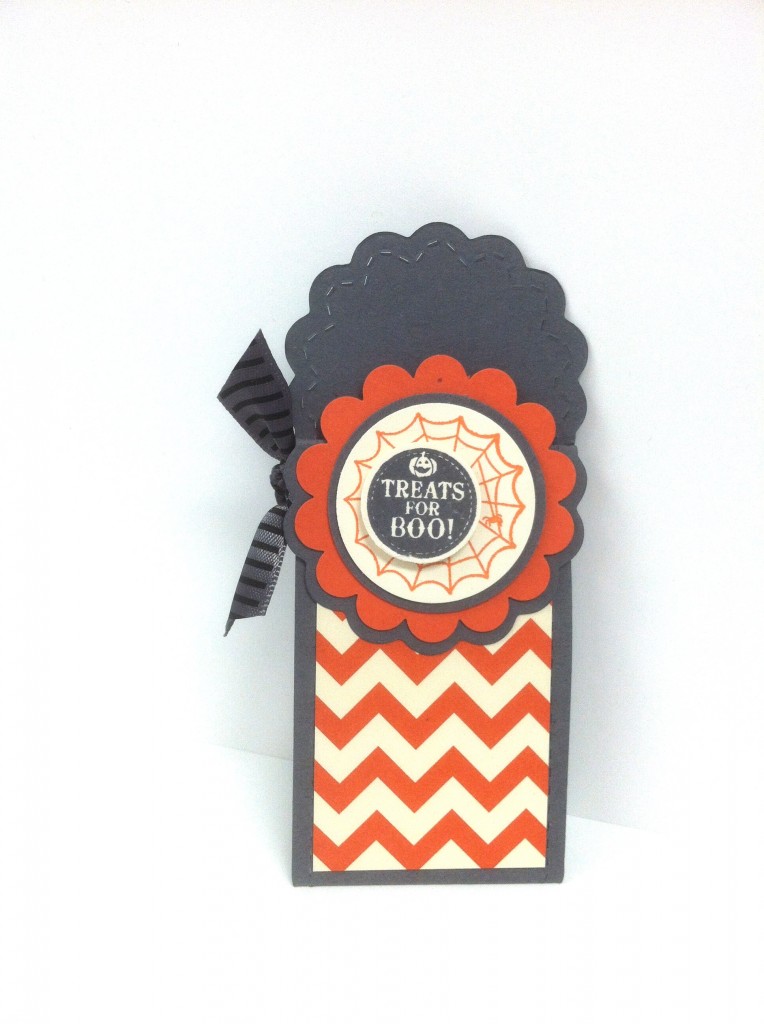
The tag on this bag was created using the Chalk Talk Framelits, Tags Four  You stamp set, and coordinating Label Bracket punch.

monday montage-001

monday montage-002

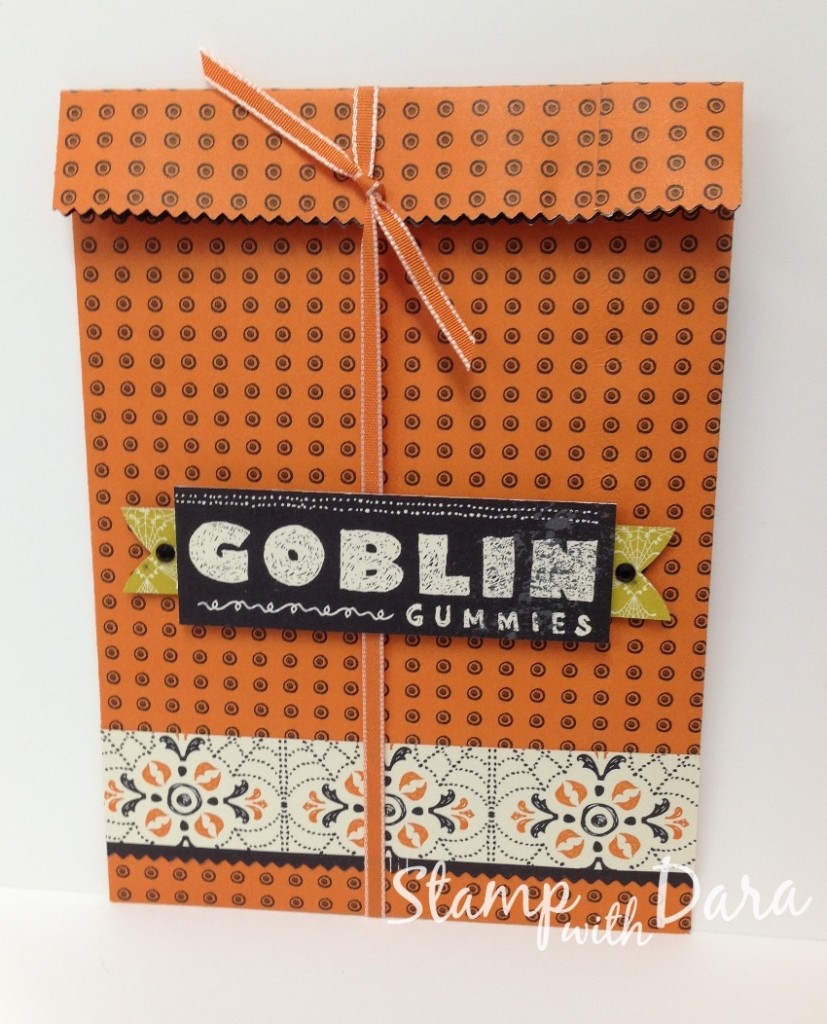
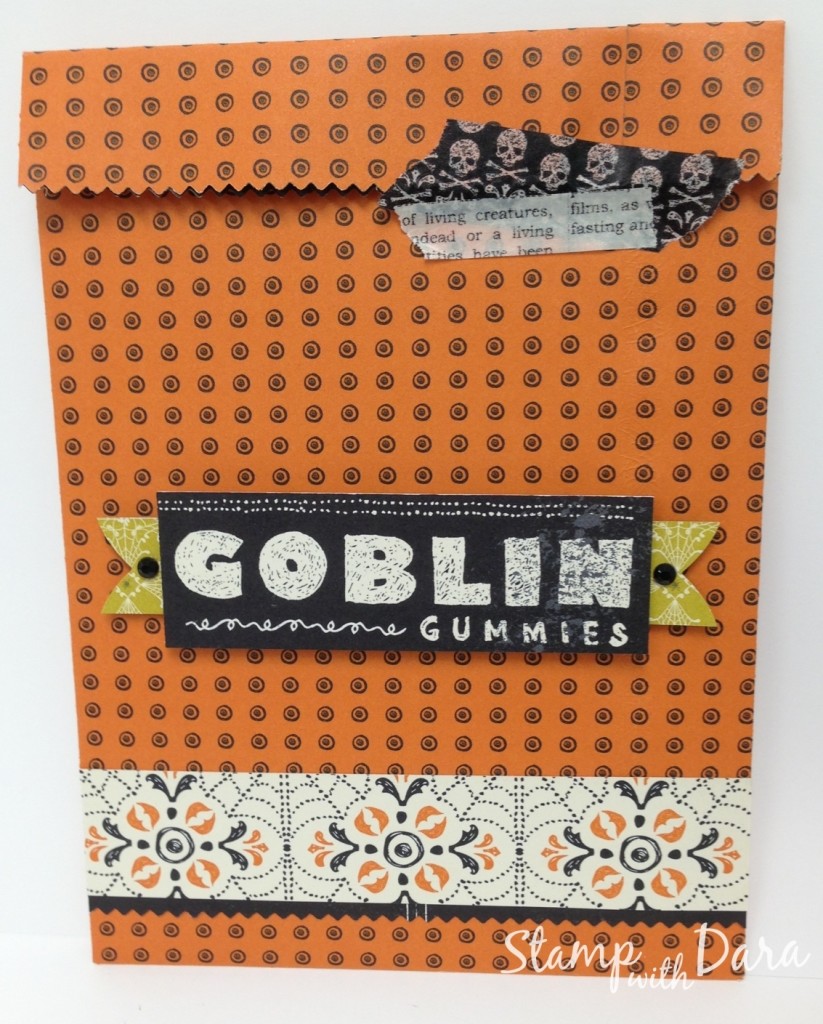
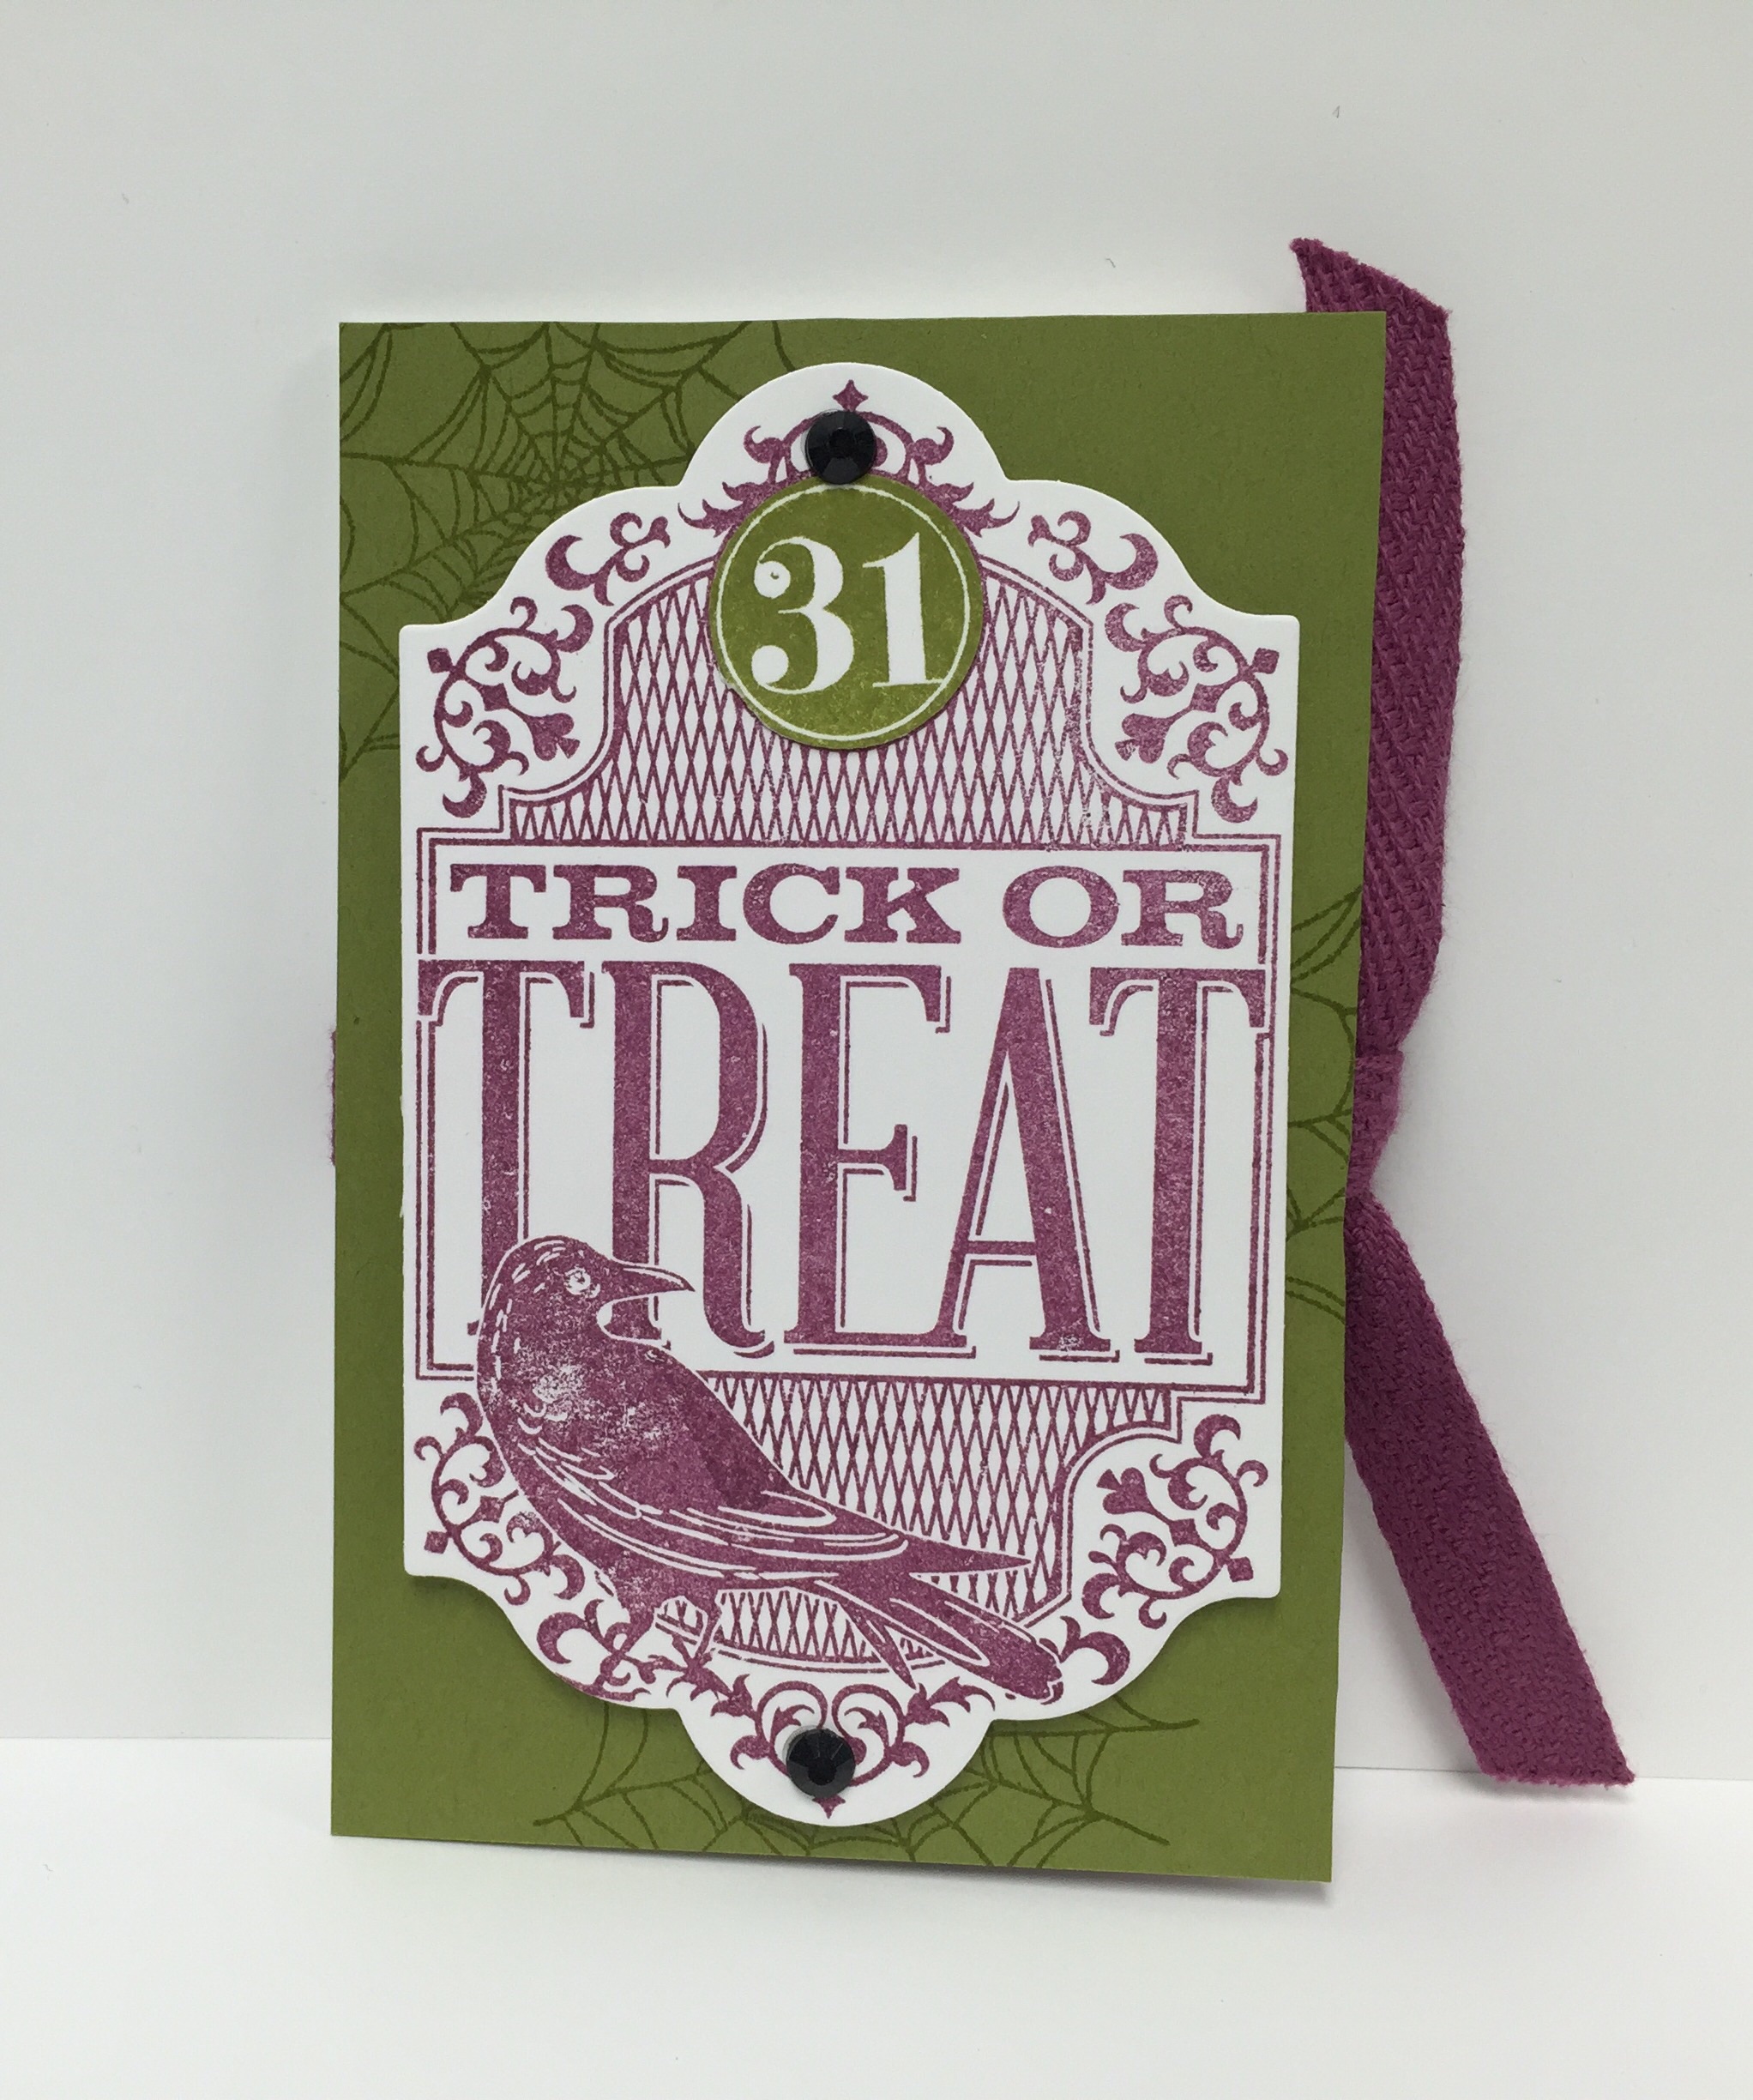
On this bag I cut the “Goblin Gummies” piece from one of the sheets of DSP. I also chose to close this bag with the Witches’ Brew Designer Washi Tape. 

monday montage-005

monday montage-006

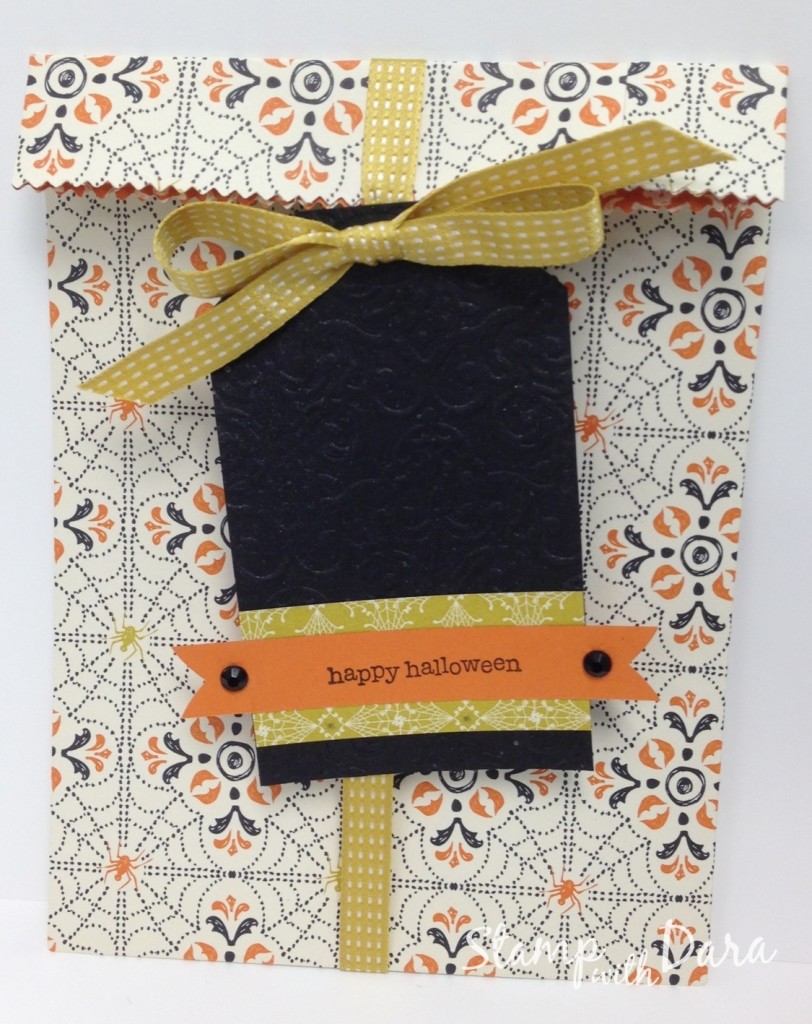
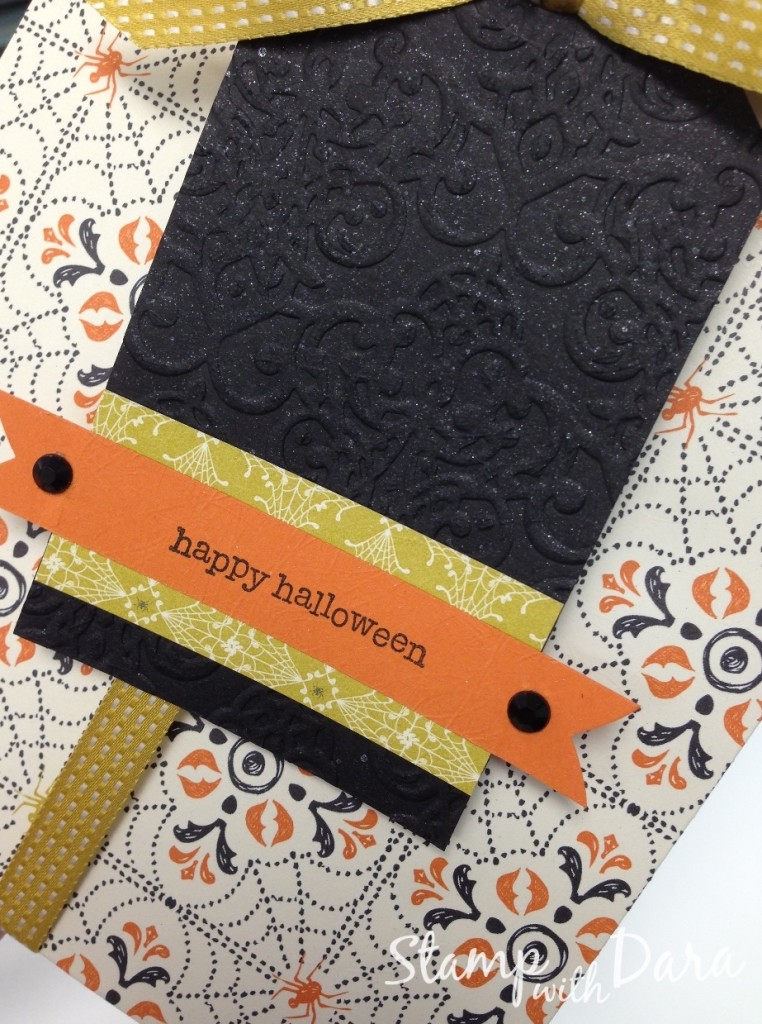
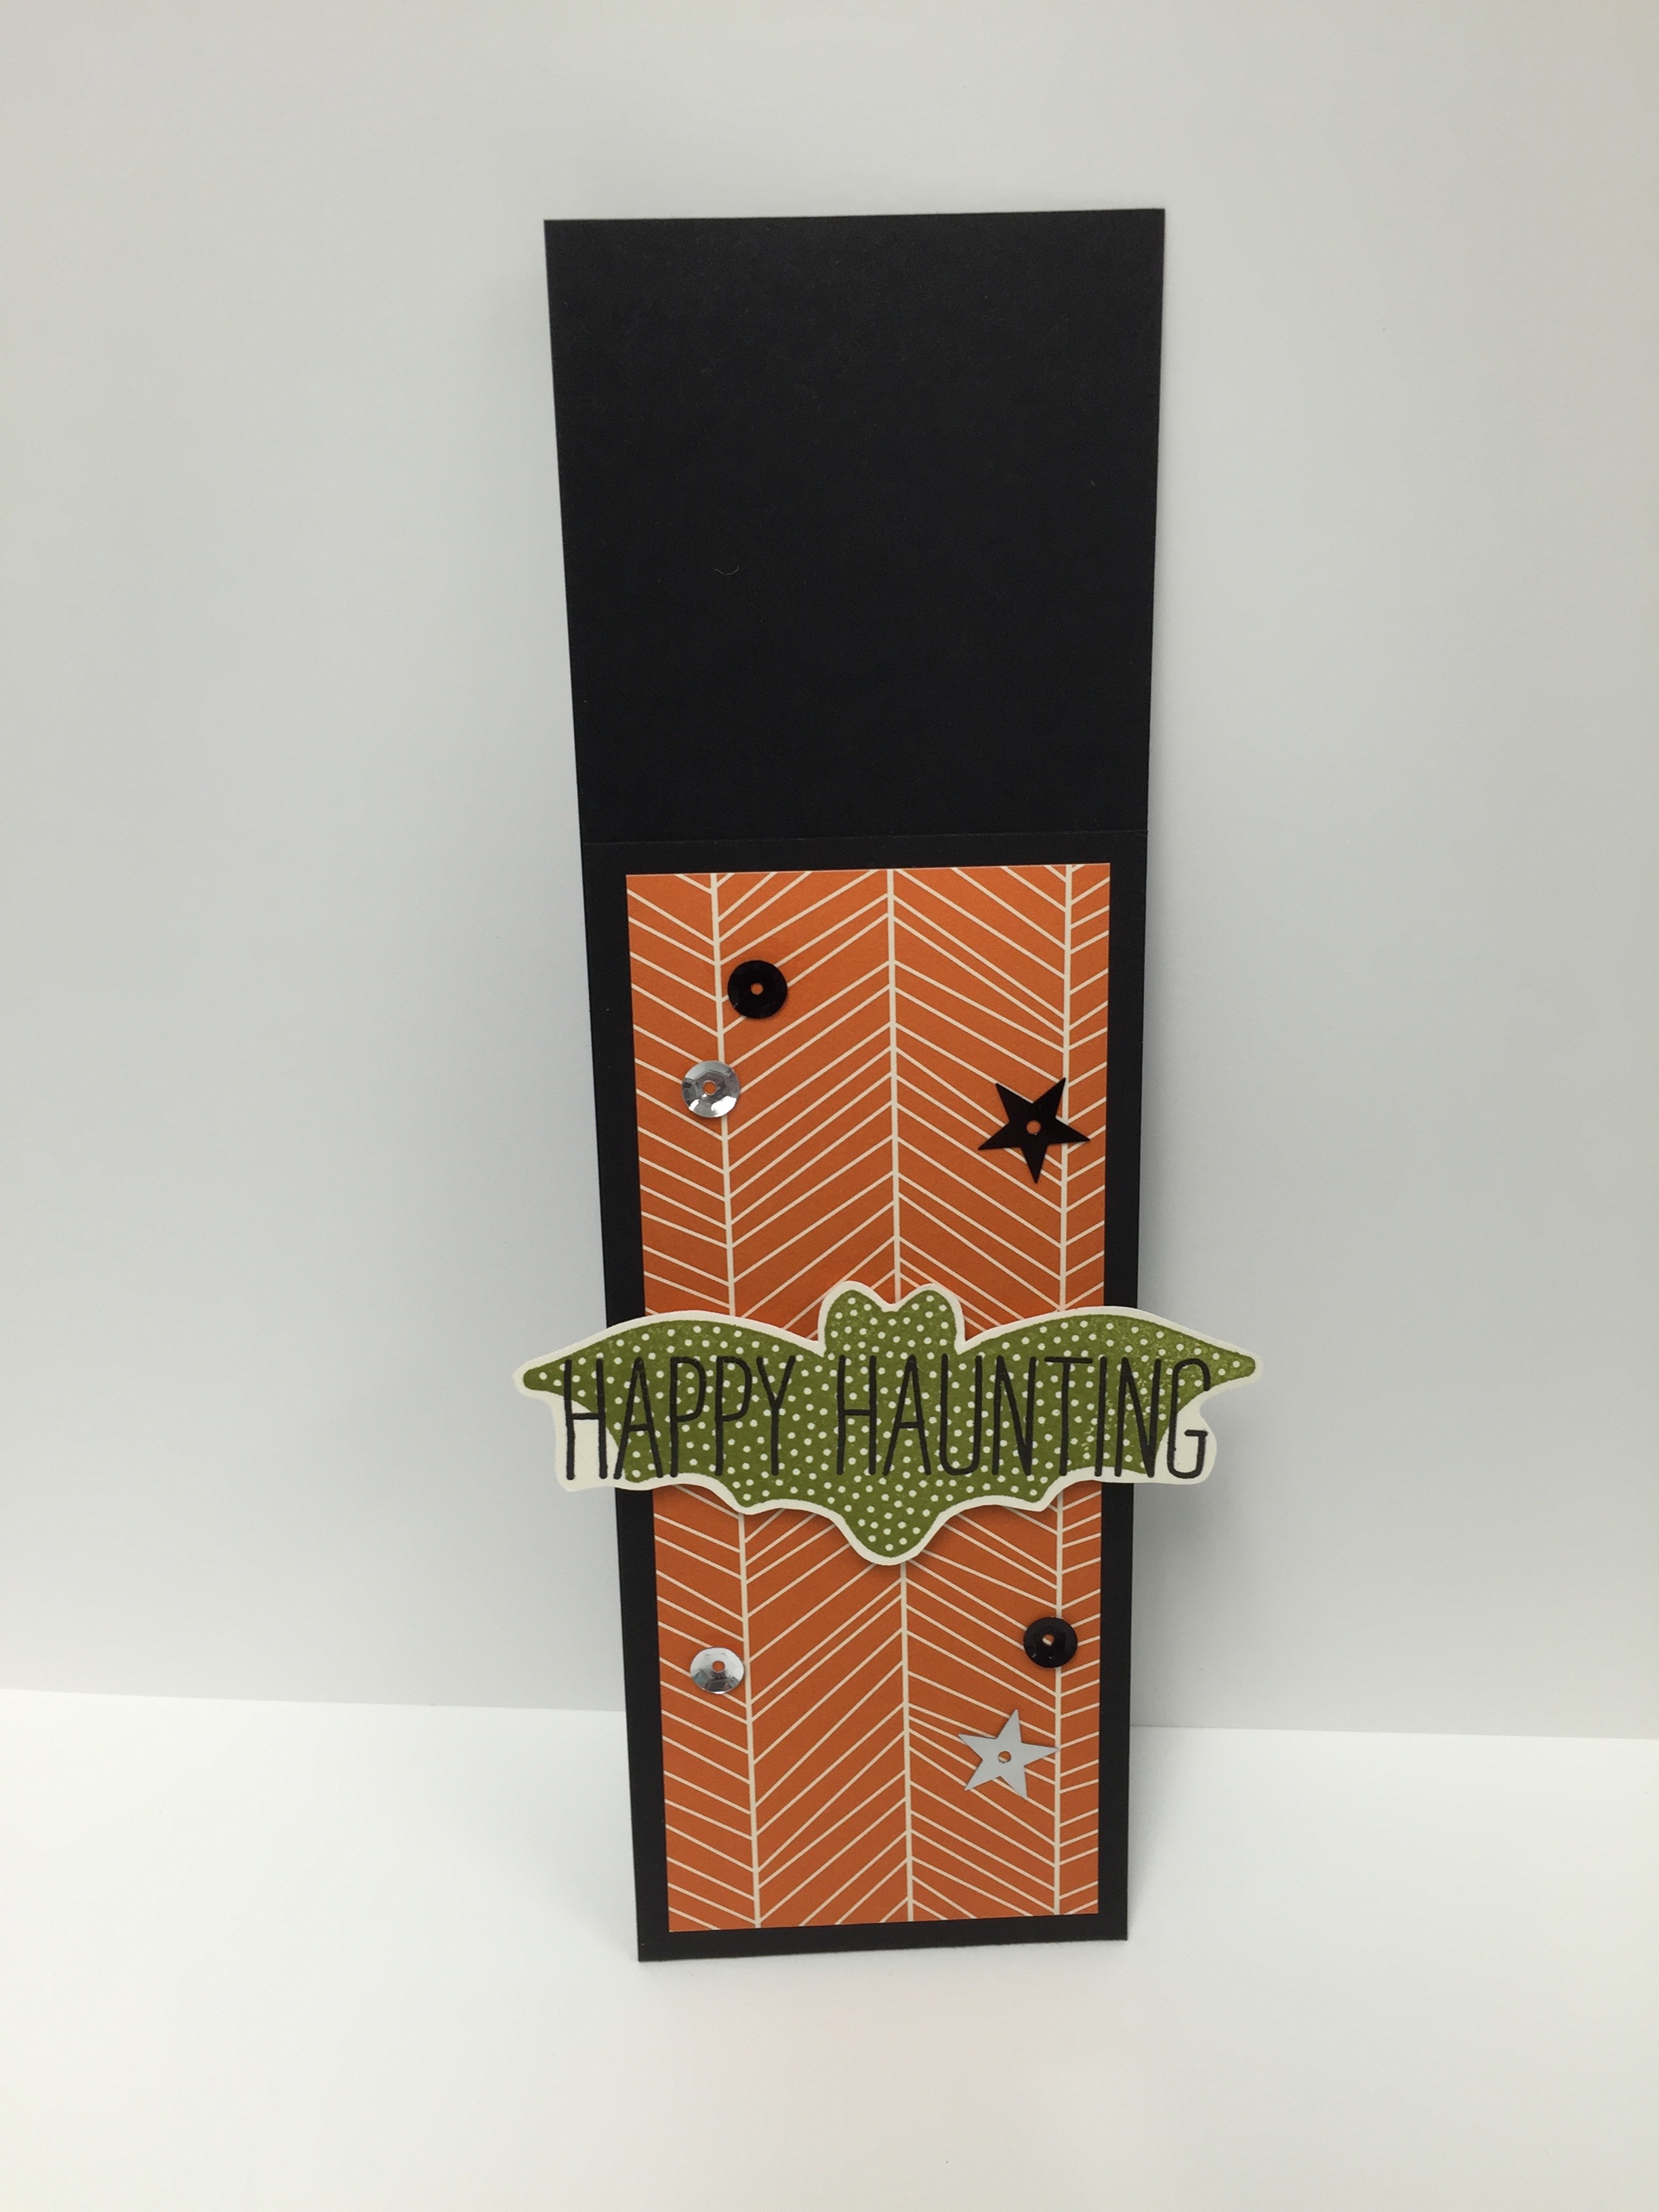
I made the tag on this one using an embossing folder to add some texture, and then I spritzed it with Vanilla Shimmer Smooch Spritz. The saying is from the Teeny Tiny Wishes stamp set.

I used the Witches’ Brew Designer Series Paper to make the bags. Once I assembled the bags I ran it through the big shot using the Finishing Touches Edgelits to give the top edge a zigzag border.

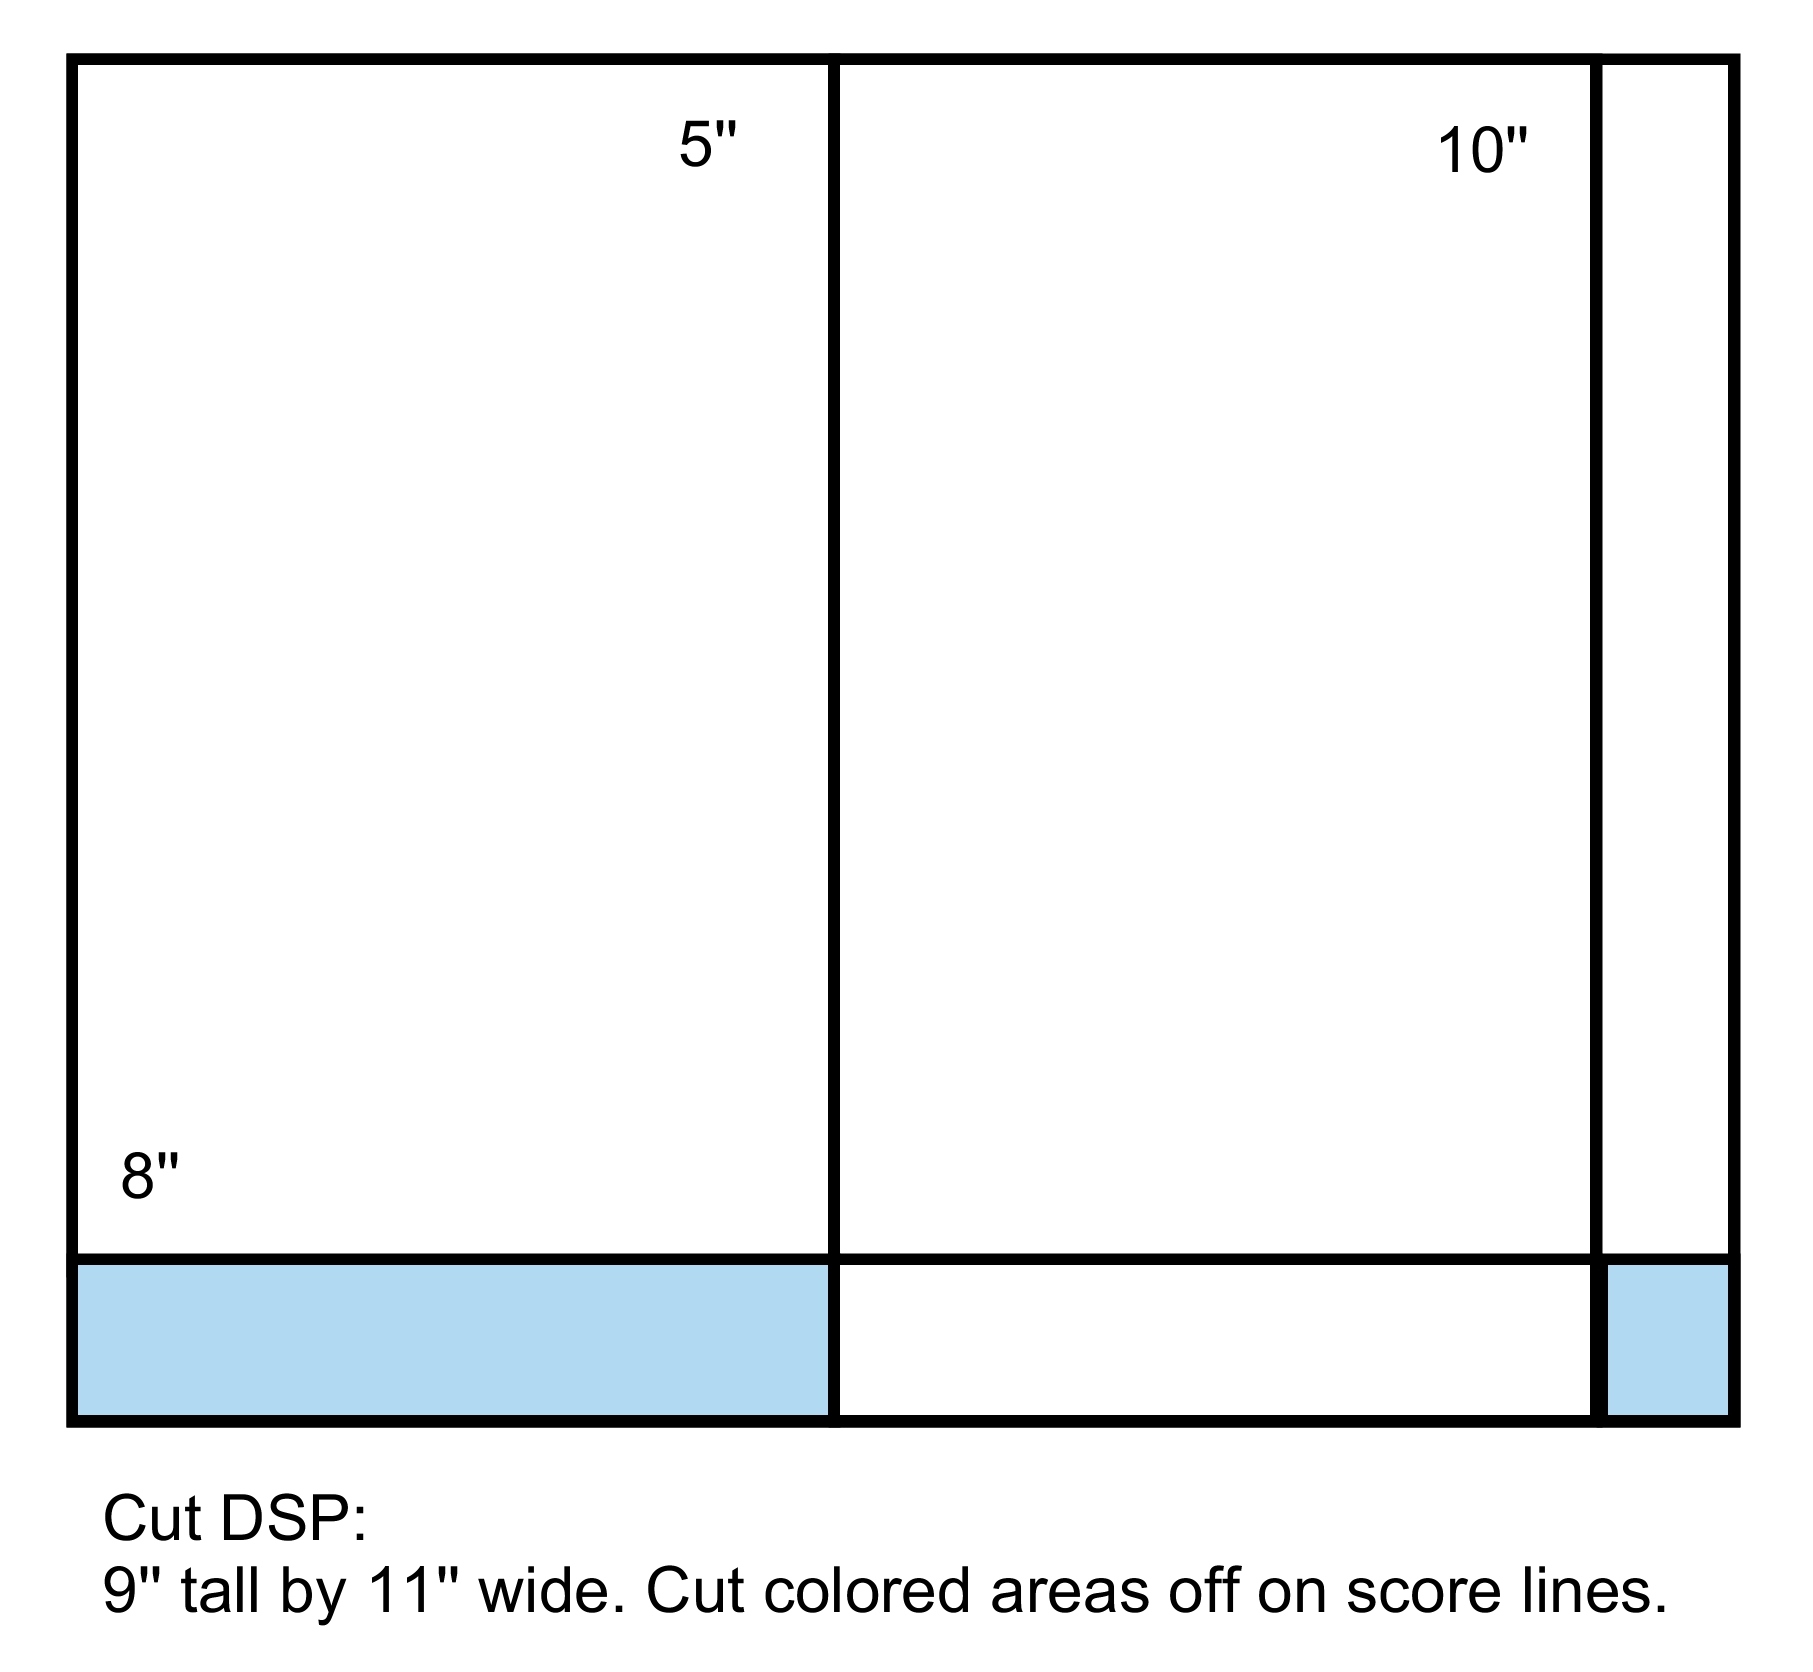
Here is the basic template I used to create the bags:

My Project 3-001

Thanks for stopping by! I hope you enjoyed my Halloween treat bags.  Don’t forget to click either the back button or the next button to continue the hop.

montage montage backmonday montage blog hop next

Supplies:

Stamps: Teeny Tiny Wishes- Wood #128748, Clear #127802, Tags Four You- Wood #131820,  Clear #131823

Card Stock: Very Vanilla #101650, Pumpkin Pie #105117, Basic Gray #121044, Basic  Black #121045, Summer Starfruit #126839

Inks: Basic Black #126980, Basic Gray #126981

Tools/Accessories: Witches’ Brew DSP # 132185, Rhinestones #119246, Black Sharpie, Big Shot #113439, Chalk Talk Framelits #129983, Finishing Touches Edgelits #127010, Vanilla Shimmer Smooch Spritz #118772, Witches’ Brew Washi Tape #132156, 1/8” Pumpkin Pie ribbon #119253, 7/8” cotton ribbon #127844, 3/8” Summer Starfruit ribbon #126846, Label Bracket Punch #132153

2013 Artisan Finalist Blog Hop – Day 10

» 19 August, 2013 » 3-D Projects, Artisan, My Digital Studio » 0 comments

Thanks for joining me for the final day of the 2013 Artisan Finalist Blog Hop.  I’m so excited to show you my favorite project from the contest.

Today I’m showing you my final 3-D project.  I purchased a 10 x 10 clock base at the store, and painted it red. Then I created the front in My Digital Studio.  Then I added the clock hands to the center.

2013 Artisan Finalist Blog Hop Day 10

The clock was the last project I made before shipping everything off so I was down to the wire to get it shipped in time.  In the rush to get everything in the mail I didn’t get a very good picture.  So the clock you are looking at is a replication of the one I sent to Stampin’ Up!  The one slight difference between this clock and the one I submitted is that I used larger black clock hands on this one.  I really wish I had seen these clock hands when I made the original as they really give it a special touch and coordinate better than the gold ones I used on the original.

I hope you have enjoyed following our hop the past 10 days.  I’m sad that it is over, but I won’t be for long because the Artisan Finalists will be continuing a blog hop every other Monday starting August 26th. We are calling it the Monday Montage Blog Hop, so be sure to come back next Monday to check it out.

In the mean time, click next to continue the final day of our 2013 Artisan Finalist Blog Hop.


Click Here to Order Stampin’ Up! Products

2013 Artisan Finalist Blog Hop – Day 8

» 17 August, 2013 » 3-D Projects, Artisan, My Digital Studio » 0 comments

Thanks for joining me for the Artisan Finalist Blog Hop.  Can you believe it’s already Day 8? My, how time flies when you’re having fun!

This is one of my 3-d Projects.  I had so much fun creating this hybrid framed Subway Art.  I used MDS to make the Subway art and printed it out from my home printer on Whisper White Cardstock.  Then I just went to town adding all kinds of bling, buttons, and brads. I also created a few rosettes to add to the frame using the Simply Scored.

2013 Artisan Finalist Blog Hop Day 8

Click next to continue the loop through the hop.  There are SO many great ideas to use for inspiration.  I can’t wait to get in my stamp room to start trying all the techniques and tips I’ve picked up this week.


Click Here to Order Stampin’ Up! Products

12 Days of Halloween: Day 4 Pumpkin Teeth Cello Topper

» 9 October, 2012 » 3-D Projects, Halloween, My Digital Studio » 0 comments

Today I wanted to share a cello bag topper with you.  I created the typed piece in My Digital Studio 2, and then stamped the pumpkin image in the middle using the Spooky Bingo Bits stamp set.

Stamps: Spooky Bingo Bits- Wood #123944, Clear #123946

Inks: Pumpkin Pie #126945

Card Stock: Basic Black #121045, Whisper White #100730, Basic Gray #121044, Pumpkin Pie #105117, Howlstooth & Scaringbone DSP #126906

Accessories/Tools: My Digital Studio #130647, 2 3/8” Scallop Circle, 1 3/4” Circle Punch #119850, Circles #2 Originals Die #114526, Big Shot #113439, 4” x 6” Cello Bags #102757

12 Days of Halloween: Day 3 Tricky Treats Box

» 8 October, 2012 » 3-D Projects, Big Shot, Halloween, Video Tutorials » 0 comments

It’s Day 3 of 12 Days of Halloween.  This is a simple box made using the Simply Scored Tool.  I also used Tricky Treats stamp set, and the Spider Web embossing folder.

Here is the link to the video tutorial:  12 Days of Halloween: Tricky Treats Box

Click Here to Order Stampin’ Up! Products

Stamps: Tricky Treats- Wood #126325, Clear #126327

Inks: Basic Black #126980

Card Stock:Pumpkin Pie #105117, Lucky Limeade #122926, Whisper White #100730, Basic Gray #121044

Tools/Accessories: Simply Scored #122334, Circles #2 die #114526, 1 3/4” Circle Punch #119850, 1 3/8” Circle Punch #119860, 2 3/8” Scallop Circle Punch #118874, Spider Web Embossing Folder #120889, Dimensionals #104430, Big Shot #113439

12 Days of Halloween: Day 2 Halloween Treat Holder

» 3 October, 2012 » 3-D Projects, Big Shot, Halloween, Video Tutorials » 2,555 comments

Today I’m showing you a Halloween version of the treat holder I showed you a few weeks ago as a part of the 12 Days of Christmas.  It is made exactly the same way.  I just changed up the colors and dsp to make it Halloween themed.

I used the hostess set Mixed Medley, and I used Howlstooth and Scaringbone DSP.

Here is the link to the original video tutorial: 12 Days of Christmas Candy Holder

Click Here to Order Stampin’ Up! Products

Stamps: Mixed Medley hostess set- Wood #128054, Clear #128057

Inks: Basic Gray #126981, Tangerine Tango #126946

Card Stock: Basic Gray #121044, Tangerine Tango #111349, Very Vanilla #101650, Howlstooth and Scaringbone #126906

Tools/Accessories: Striped Satin Ribbon #127837, Scallop Circle Punch #119854, 1 3/8” Circle Punch #119860, 3/4” Circle Punch #119873, Two Tags Die #115954, Big Shot #113439, Dimensionals #104430

12 Days of Halloween: Day 1 Mummy Sack

» 1 October, 2012 » 3-D Projects, Halloween » 0 comments

I hope everyone is having a great Monday.

There was such a great response to the 12 Days of Christmas series that I have decided to also share 12 Days of Halloween with you.

Today’s project is a sack made using the Simply Scored. I used Howlstooth and Scaringbone DSP and the stamp set Googly Ghouls.

Here is the video tutorial for this project.

Click Here to Order Stampin’ Up! Products

Stamps: Googly Ghouls- Wood #128060, Clear #128063, Teeny Tiny Wishes- Wood #115370, Clear #127802

Inks: Basic Gray #126981

Card Stock: Basic Gray #121044, Very Vanilla #101650, Howlstooth and Scaringbone #126906

Tools/Accessories: Simply Scored #122334, Googlies #127539, Dimensionals #104430, Velcro